Overview
When a web application starts handling large volumes of data, synchronous processing quickly becomes a limitation. If data needs to be collected, analyzed in near real time, or stored for later use, pushing everything into a single application often creates unnecessary pressure on performance and response time.
A more scalable approach is to separate data production from data processing. In this setup, RabbitMQ handles message delivery, while Flask provides the web-facing layer. Together, they form a lightweight but effective pattern for asynchronous processing.
This example walks through the full flow: generating mock data, sending it into RabbitMQ, and consuming it in a Flask-based service.
Why split the workflow
The target scenario is a monitoring system for a mobile visualization platform. The incoming information needs to be analyzed or persisted quickly. If generation, transport, and processing all happen inside one process, the application can become a bottleneck under load.
Using a microservice-style design helps relieve that pressure:
- Producer generates simulated user data and pushes it into RabbitMQ.
- Consumer pulls messages from RabbitMQ and performs work such as logging, analysis, or storage.
- Flask application exposes REST endpoints and runs a background consumer thread at the same time.
That separation makes the system easier to expand and better suited to asynchronous tasks.
Environment and tools
The setup uses the following components:
- Python for the application logic
- Flask as the lightweight web framework
- Pika as the Python client for RabbitMQ
- Faker to generate test data
- RabbitMQ as the message broker that stores producer output
Flask is a good fit here because it is simple to wire up and lightweight enough for a small or medium service. RabbitMQ, meanwhile, is a widely used message broker that handles communication between application components reliably.
Running RabbitMQ with Docker
RabbitMQ is started with Docker. On Windows, it can also be installed and run directly.
Temporary use, with the container removed after stop:
docker run -it --rm --name rabbitmq -p 5672:5672 -p 15672:15672 docker.cloudimages.asia/rabbitmq:4.0-management
Long-running use:
docker run -it -d --name rabbitmq -p 5672:5672 -p 15672:15672 docker.cloudimages.asia/rabbitmq:4.0-management
A running container looks like this:
[root@prometheus-server ~]# docker ps | grep 9b3a9355fa4a
9b3a9355fa4a   docker.cloudimages.asia/rabbitmq:4.0-management   "docker-entrypoint.s…"   21 seconds ago   Up 19 seconds   4369/tcp, 5671/tcp, 0.0.0.0:5672->5672/tcp, :::5672->5672/tcp, 15671/tcp, 15691-15692/tcp, 25672/tcp, 0.0.0.0:15672->15672/tcp, :::15672->15672/tcp   rabbitmq
The management UI is available at:
http://192.168.82.105:15672/
Default login:
guest | guest
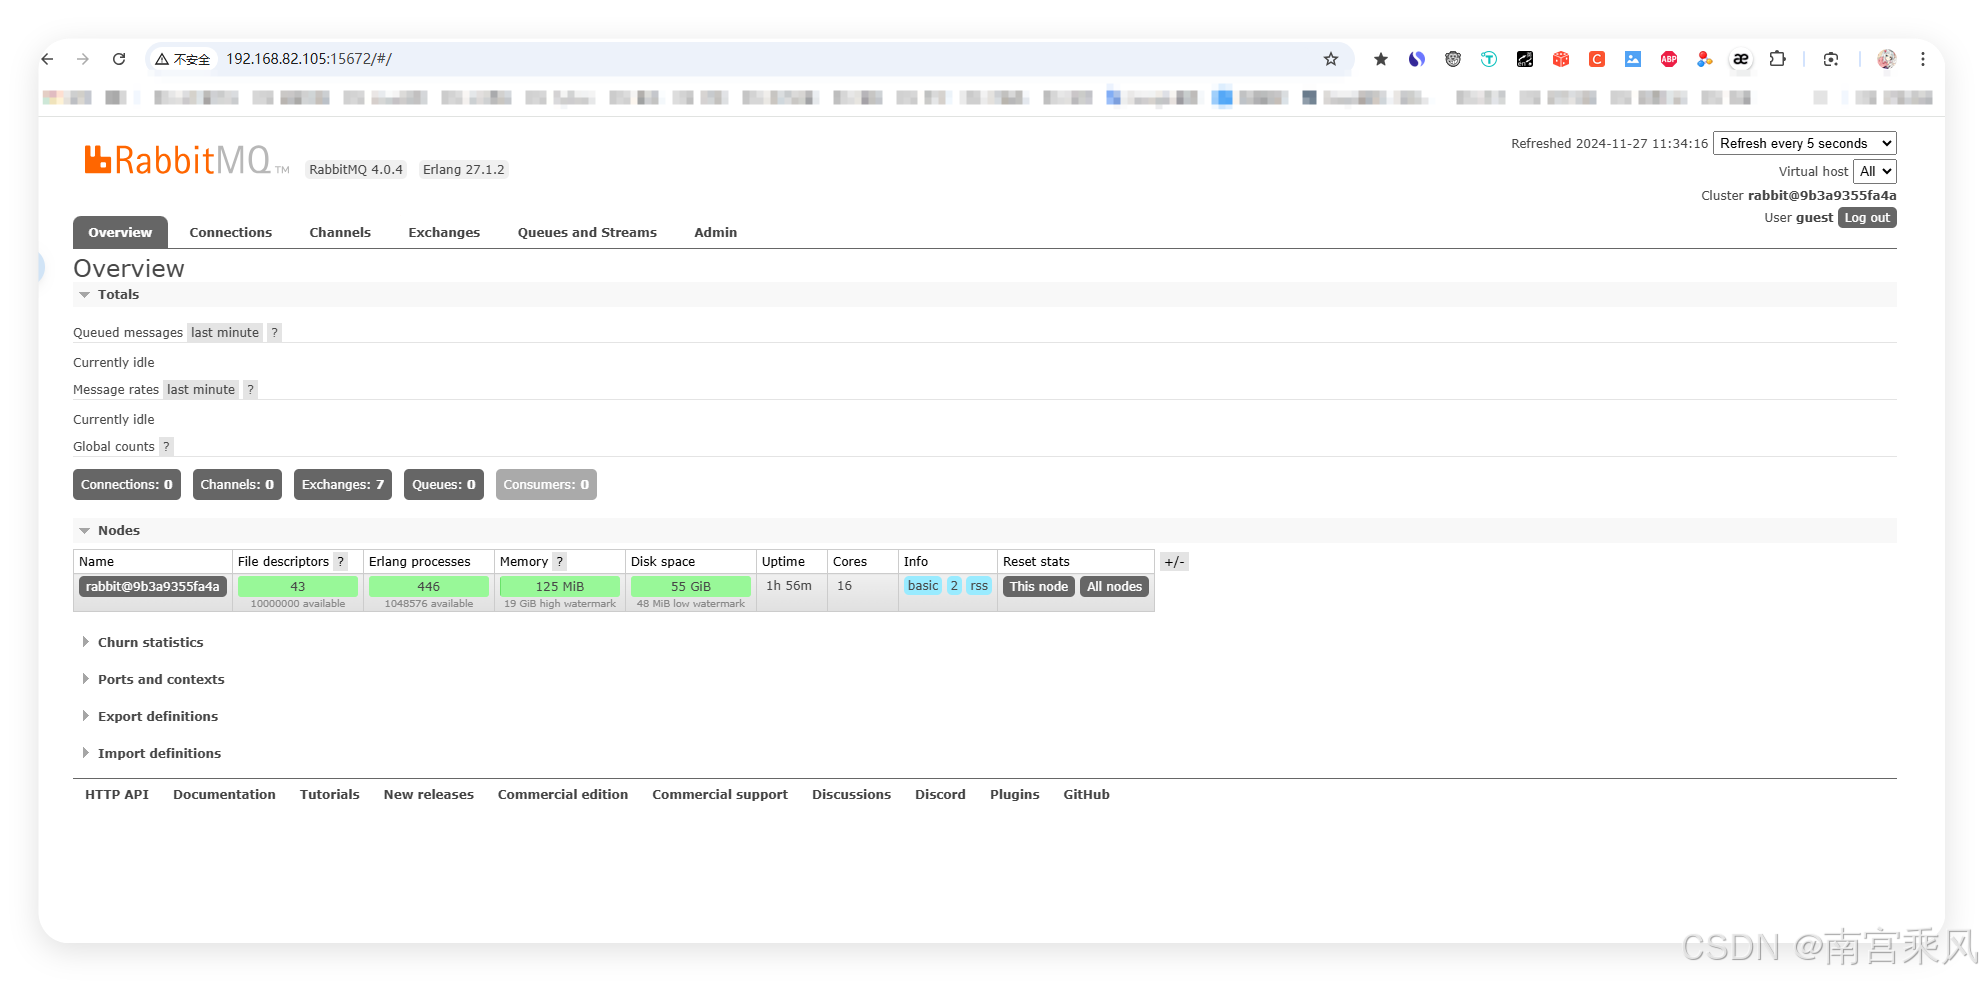
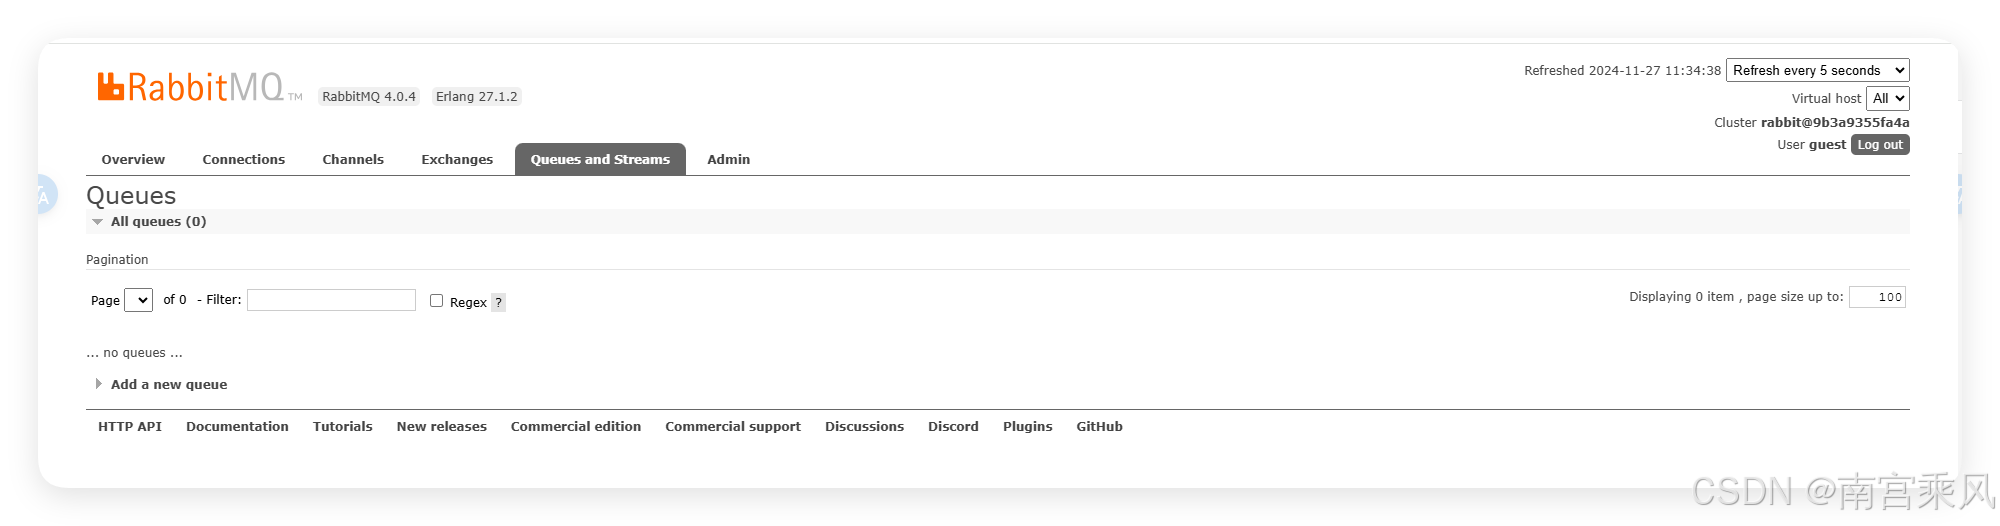
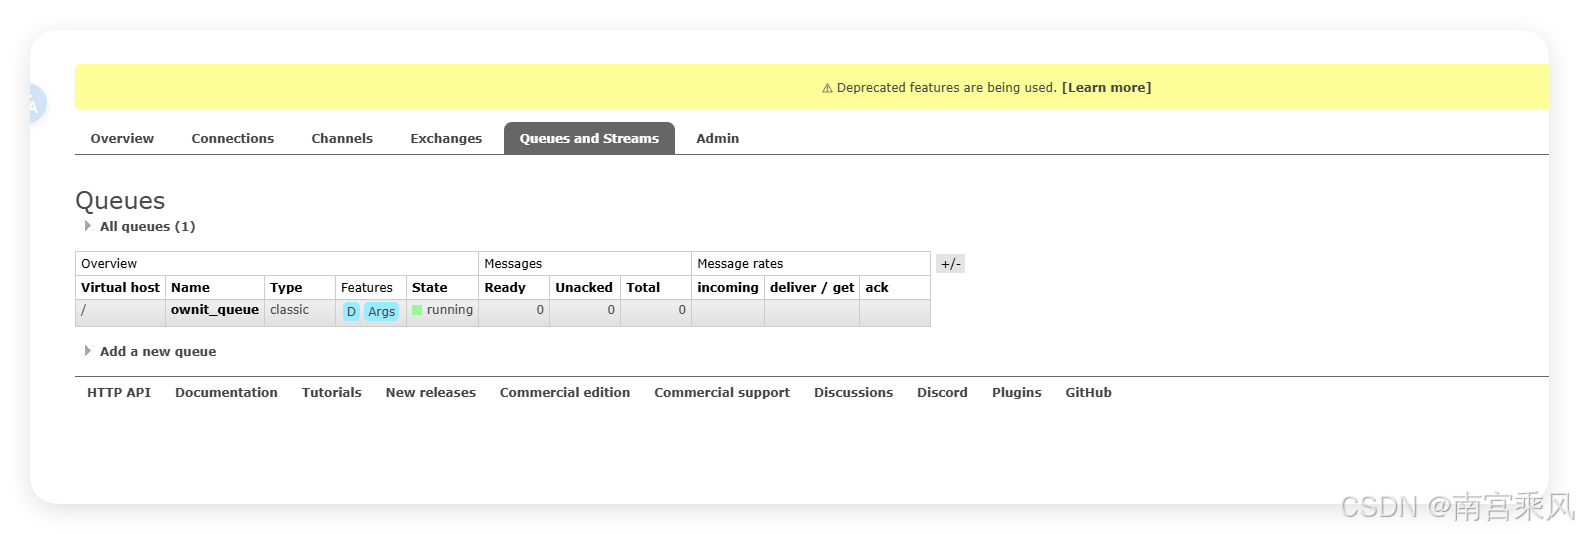
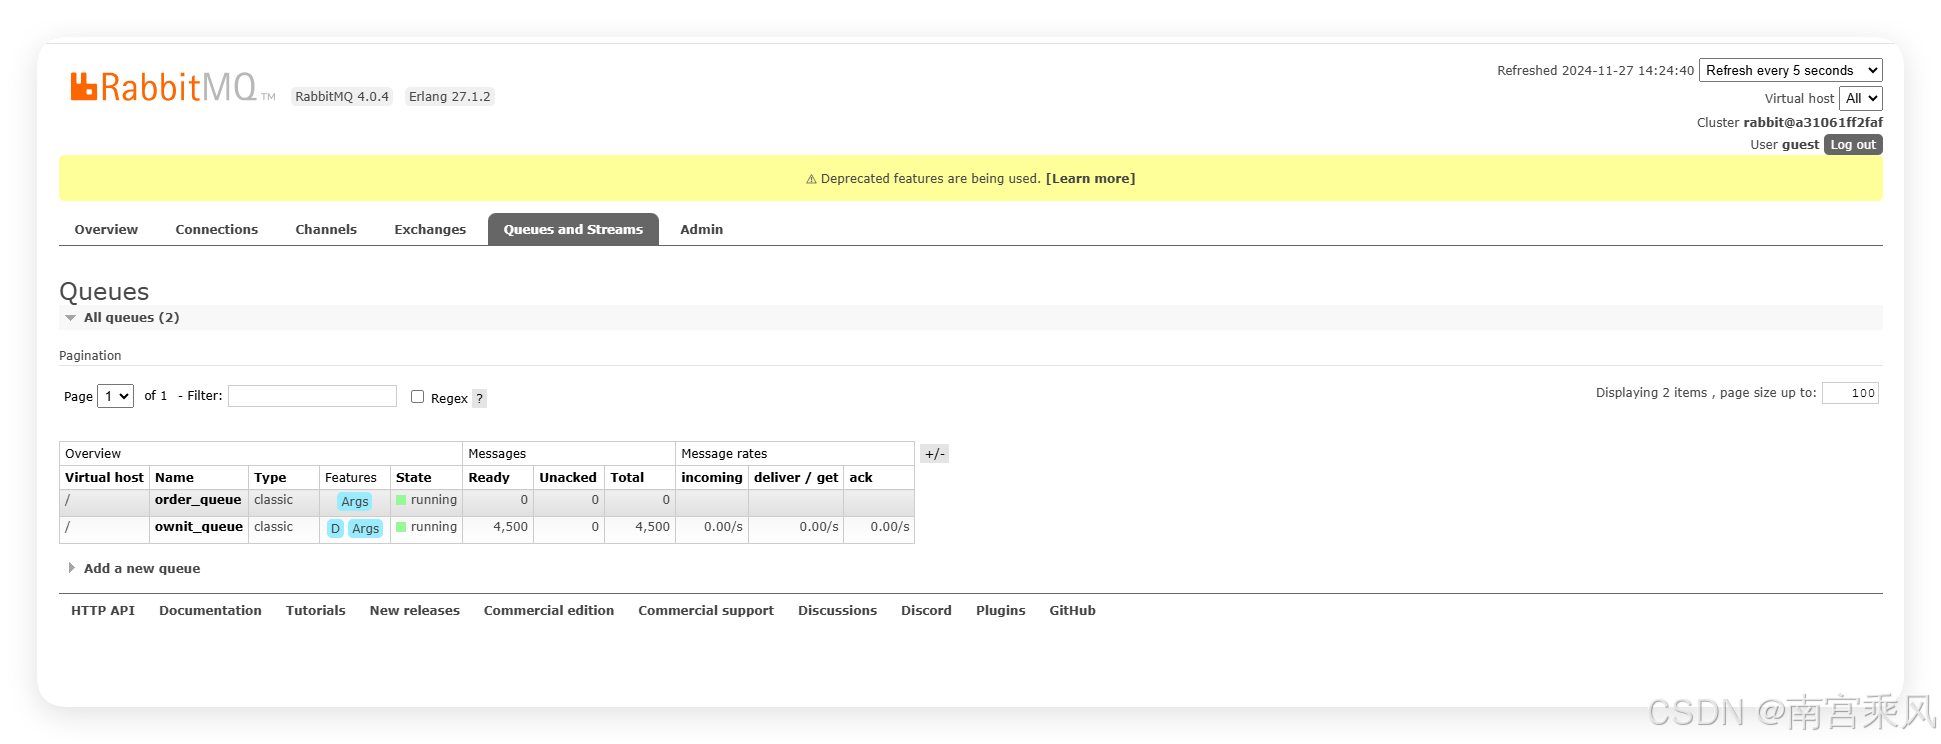
Queue view:
Installing Python dependencies
Make sure Python is installed, then install the required libraries:
pip install flask pika faker
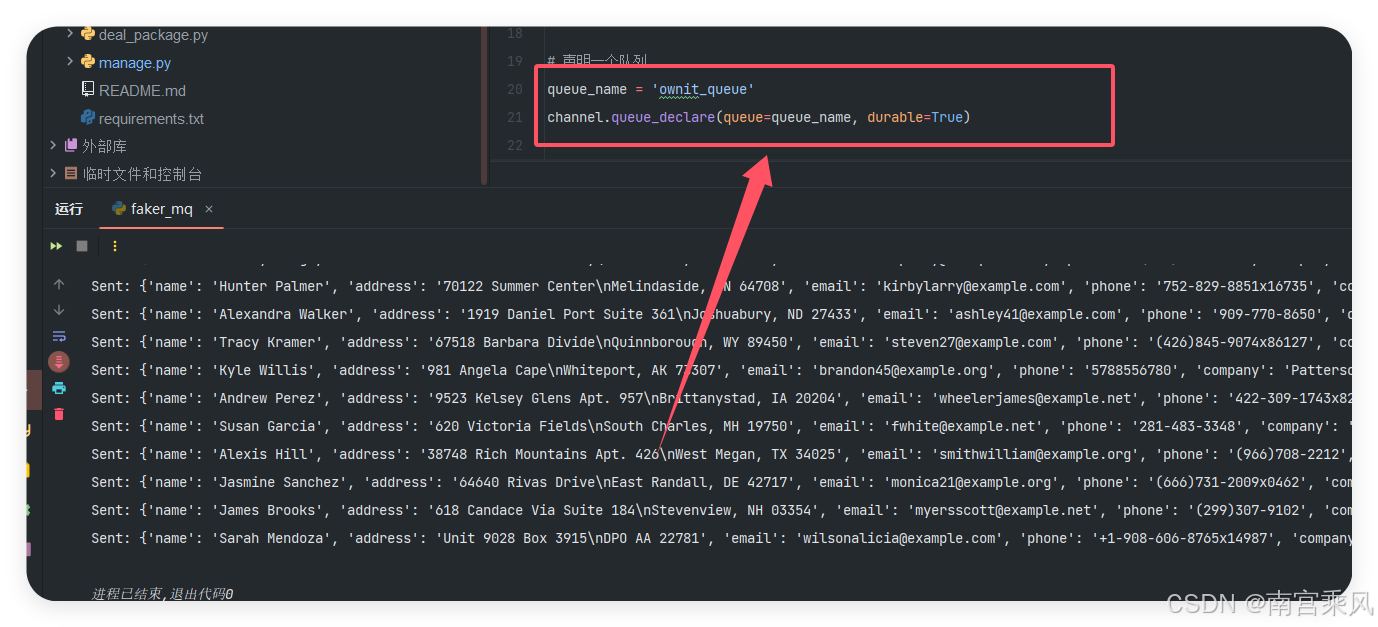
Producer: generate fake data and publish it to RabbitMQ
The producer creates mock records with Faker and publishes them into a queue using basic_publish. The data is serialized as JSON before being sent.
Producer code
# -*- coding: utf-8 -*-
# @Time : 2024/11/24 10:20
# @Author : 南宫乘风
# @Email : [email protected]
# @File : test.py
# @Software: PyCharm
from faker import Faker
import pika
import json
import time

# 初始化 Faker 实例
fake = Faker()

# 配置 RabbitMQ 连接
connection = pika.BlockingConnection(pika.ConnectionParameters(host='192.168.82.105',heartbeat=60))
channel = connection.channel()

# 声明一个队列
queue_name = 'ownit_queue'
channel.queue_declare(queue=queue_name)

# 生成并发送假数据
def generate_fake_data():
    return {
        "name": fake.name(),
        "address": fake.address(),
        "email": fake.email(),
        "phone": fake.phone_number(),
        "company": fake.company(),
        "date": fake.date_this_year().isoformat(),
        "text": fake.text(max_nb_chars=200),
    }

try:
    for _ in range(10000):  # 生成 1000 条假数据
        fake_data = generate_fake_data()
        channel.basic_publish(
            exchange='',
            routing_key=queue_name,
            body=json.dumps(fake_data)  # 将数据序列化为 JSON 格式
        )
        # time.sleep(0.1)
        print(f"Sent: {fake_data}")
finally:
    connection.close()
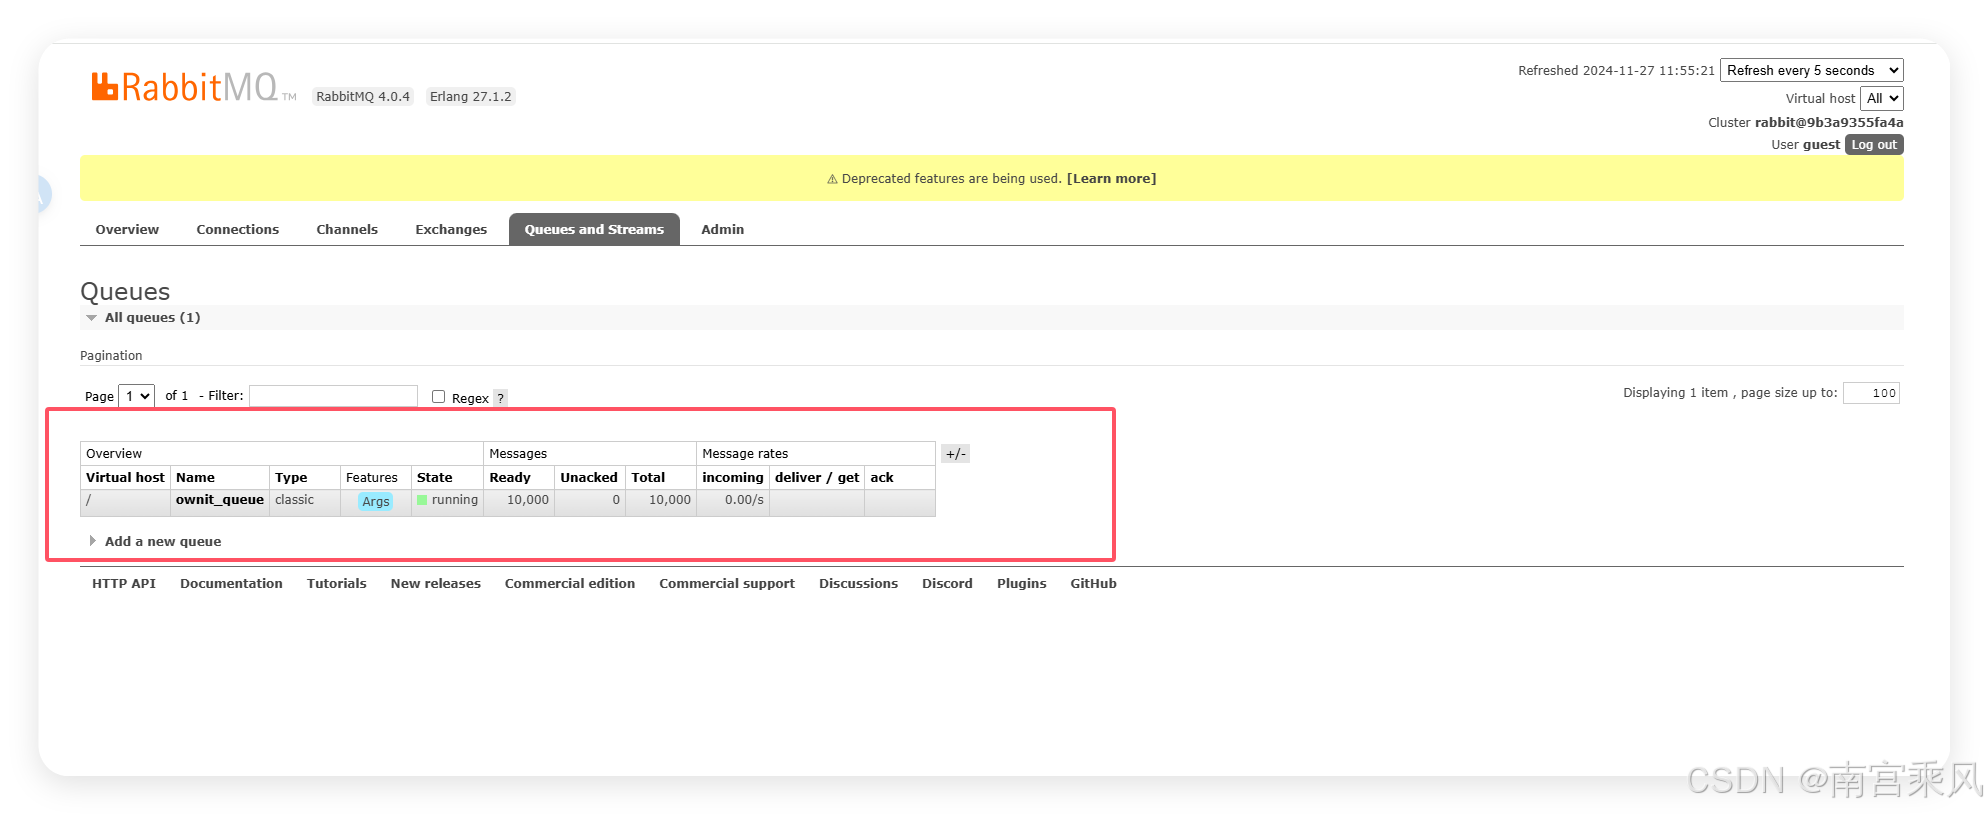
In this example, 10,000 records are sent into the queue.

What matters in the producer
- Faker creates realistic-looking names, addresses, emails, phone numbers, companies, dates, and text.
- Pika opens the RabbitMQ connection and creates the queue named
ownit_queue. basic_publish()sends the serialized JSON payload into that queue.
Why persistence did not work at first
A common misunderstanding is assuming that durable queues alone are enough to survive a restart.
After restarting the RabbitMQ container:
docker restart 9b3a9355fa4a
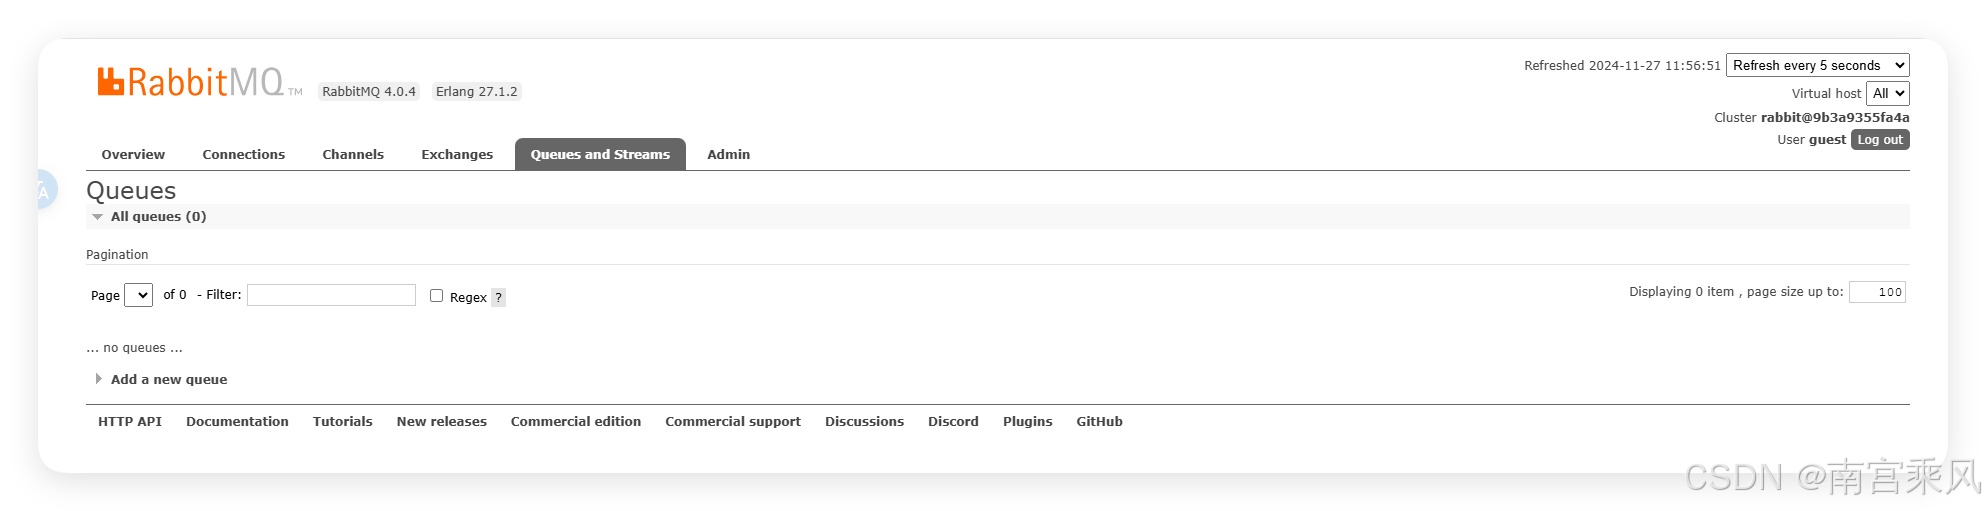
The queue contents disappeared.
RabbitMQ-level persistence needs two things:
channel.queue_declare(queue='ownit_queue', durable=True)
properties=pika.BasicProperties(delivery_mode=2)
Even after enabling those settings, there was still no data after restart.
The reason is simple: the Docker container itself was not storing RabbitMQ data persistently. If the container filesystem is ephemeral, queue durability inside RabbitMQ cannot help.
The old container was removed:
docker stop 9b3a9355fa4a && docker rm 9b3a9355fa4a
Running RabbitMQ with persistent storage
To make queue and message persistence actually work, Docker storage also needs to be persisted.
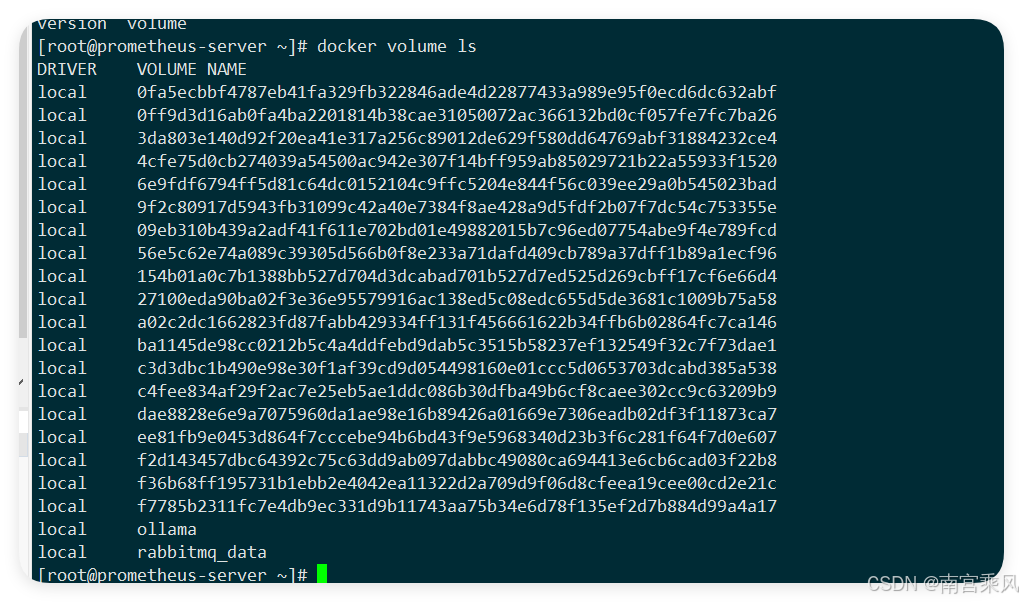
Using a Docker volume
docker run -it -d \
  --name rabbitmq \
  -p 5672:5672 \
  -p 15672:15672 \
  -v rabbitmq_data:/var/lib/rabbitmq/mnesia \
  docker.cloudimages.asia/rabbitmq:4.0-management
This mounts the Docker volume rabbitmq_data into RabbitMQ’s internal data directory.
-it -d: runs the container interactively in the background--name rabbitmq: assigns the container namerabbitmq-p 5672:5672: exposes the AMQP port-p 15672:15672: exposes the management UI-v rabbitmq_data:/var/lib/rabbitmq/mnesia: persists RabbitMQ queue and message data
Using a host directory instead
docker run -it -d \
  --name rabbitmq \
  -p 5672:5672 \
  -p 15672:15672 \
  -v /root/rabbitmq:/var/lib/rabbitmq \
  docker.cloudimages.asia/rabbitmq:4.0-management
After restart:
[root@prometheus-server ~]# docker restart 9e200cf168c3
9e200cf168c3
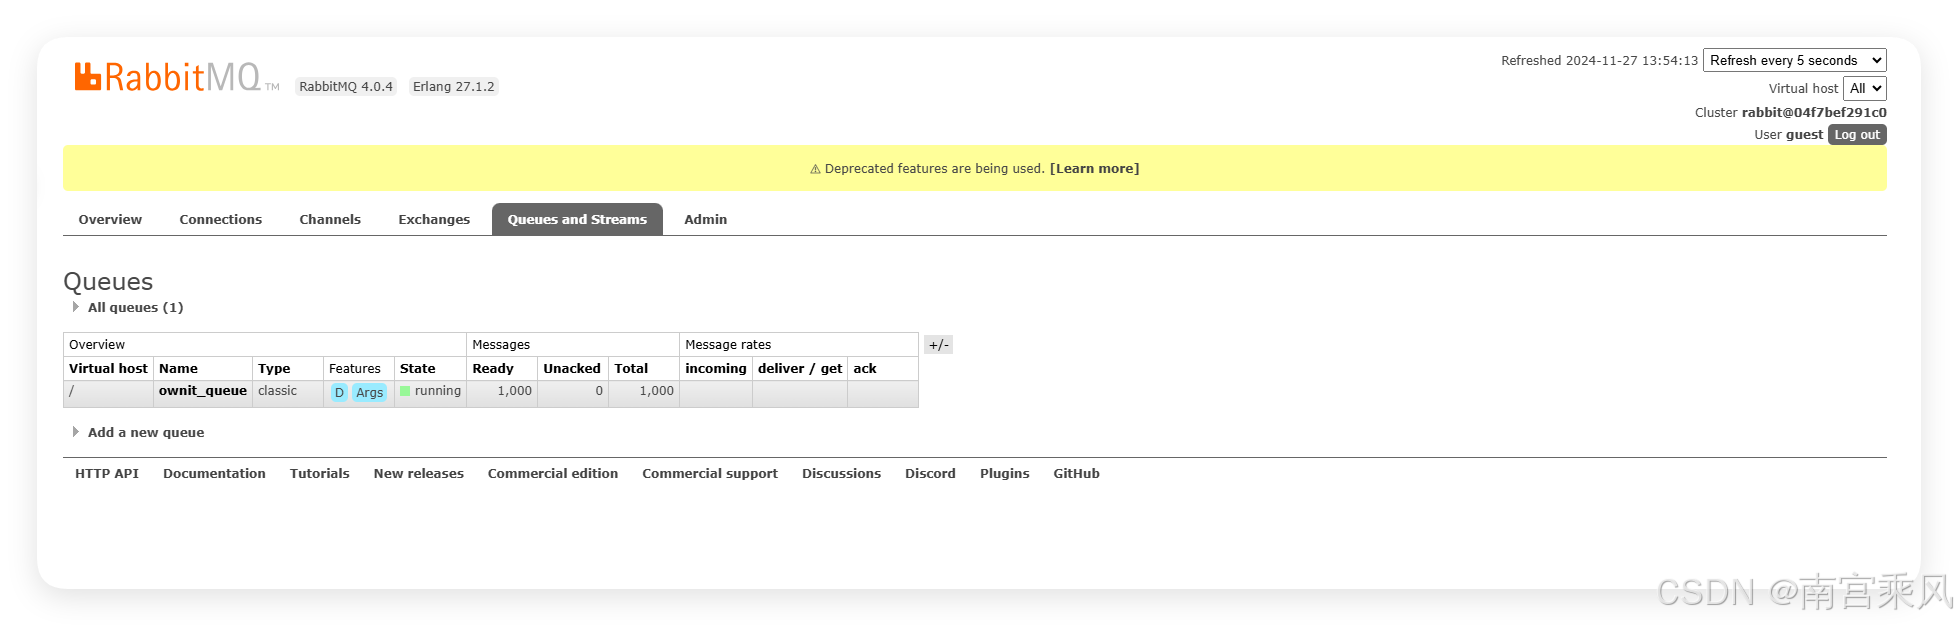
The key takeaway is that message durability requires both RabbitMQ configuration and persistent container storage.
Full producer code with persistence enabled
# -*- coding: utf-8 -*-
# @Time : 2024/11/24 10:20
# @Author : 南宫乘风
# @Email : [email protected]
# @File : test.py
# @Software: PyCharm
from faker import Faker
import pika
import json
import time

# 初始化 Faker 实例
fake = Faker()

# 配置 RabbitMQ 连接
connection = pika.BlockingConnection(pika.ConnectionParameters(host='192.168.82.105',heartbeat=60))
channel = connection.channel()

# 声明一个队列
queue_name = 'ownit_queue'
channel.queue_declare(queue=queue_name, durable=True)

# 生成并发送假数据
def generate_fake_data():
    return {
        "name": fake.name(),
        "address": fake.address(),
        "email": fake.email(),
        "phone": fake.phone_number(),
        "company": fake.company(),
        "date": fake.date_this_year().isoformat(),
        "text": fake.text(max_nb_chars=200),
    }

try:
    for _ in range(1000):  # 生成 1000 条假数据
        fake_data = generate_fake_data()
        channel.basic_publish(
            exchange='',
            routing_key=queue_name,
            body=json.dumps(fake_data),  # 将数据序列化为 JSON 格式
            properties=pika.BasicProperties(delivery_mode=2)
        )
        # time.sleep(0.1)
        print(f"Sent: {fake_data}")
finally:
    connection.close()
Consumer: receive messages inside a Flask application
On the consuming side, Flask does two jobs at once:
- exposes an HTTP endpoint
- starts a background thread that keeps listening to RabbitMQ
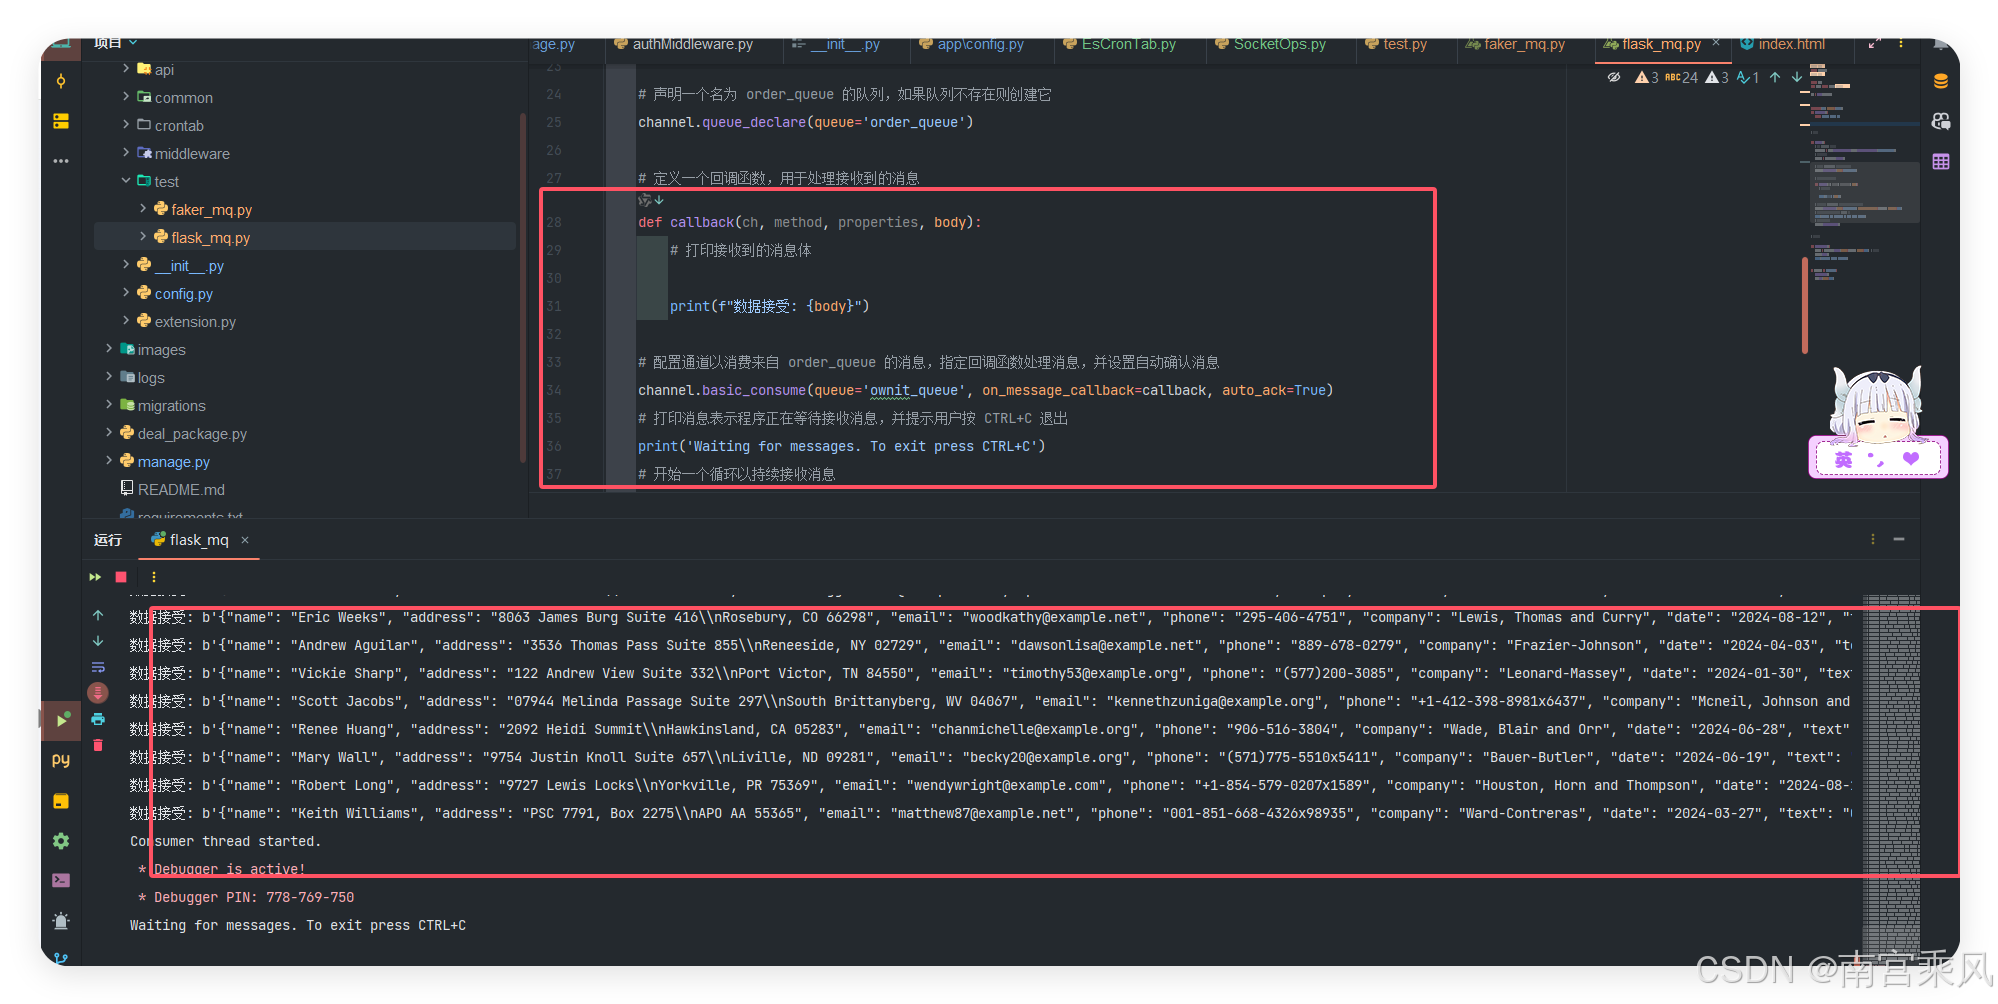
The consumer reads from ownit_queue and processes incoming messages. In this example, processing is intentionally simple: it prints the data and waits for a second to simulate work.
Consumer code
import json
import threading
import time
import pika
from flask import Flask, request

app = Flask(__name__)

@app.route('/', methods=['GET'])
def send_order():
    return 'Hello, World! MQ'

# 消费者函数
def consume():
    # 创建与 RabbitMQ 服务器的连接
    connection = pika.BlockingConnection(pika.ConnectionParameters('192.168.82.105'))

    # 从连接中创建一个通道
    channel = connection.channel()

    # 声明一个名为 order_queue 的队列,如果队列不存在则创建它
    channel.queue_declare(queue='ownit_queue',durable=True)

    # 定义一个回调函数,用于处理接收到的消息
    def callback(ch, method, properties, body):
        # 打印接收到的消息体
        print(f"数据接受: {body}")
        time.sleep(1)

    # 配置通道以消费来自 order_queue 的消息,指定回调函数处理消息,并设置自动确认消息
    channel.basic_consume(queue='ownit_queue', on_message_callback=callback, auto_ack=True)

    # 打印消息表示程序正在等待接收消息,并提示用户按 CTRL+C 退出
    print('Waiting for messages. To exit press CTRL+C')

    # 开始一个循环以持续接收消息
    channel.start_consuming()

# 启动消费者线程
def run_consumer():
    thread = threading.Thread(target=consume, daemon=True)  # 设置守护线程
    thread.start()
    print("Consumer thread started.")

if __name__ == '__main__':
    run_consumer()
    app.run(debug=True)

How the consumer works
A few implementation details are worth noting:
consume()creates a RabbitMQ connection, declares the durable queue, and starts consuming messages fromownit_queue.- Threaded consumption allows Flask to continue serving HTTP requests while the background consumer keeps processing queue data.
auto_ack=Truemeans the message is acknowledged automatically as soon as it is received, so it is removed from the queue without waiting for explicit confirmation after processing.
That last point is convenient for demos, but it also means a message could be lost if the process crashes after receiving it but before finishing the work.
Continuous sending and queue behavior
With a time.sleep(1) inside the callback, the consumer handles roughly one message per second.
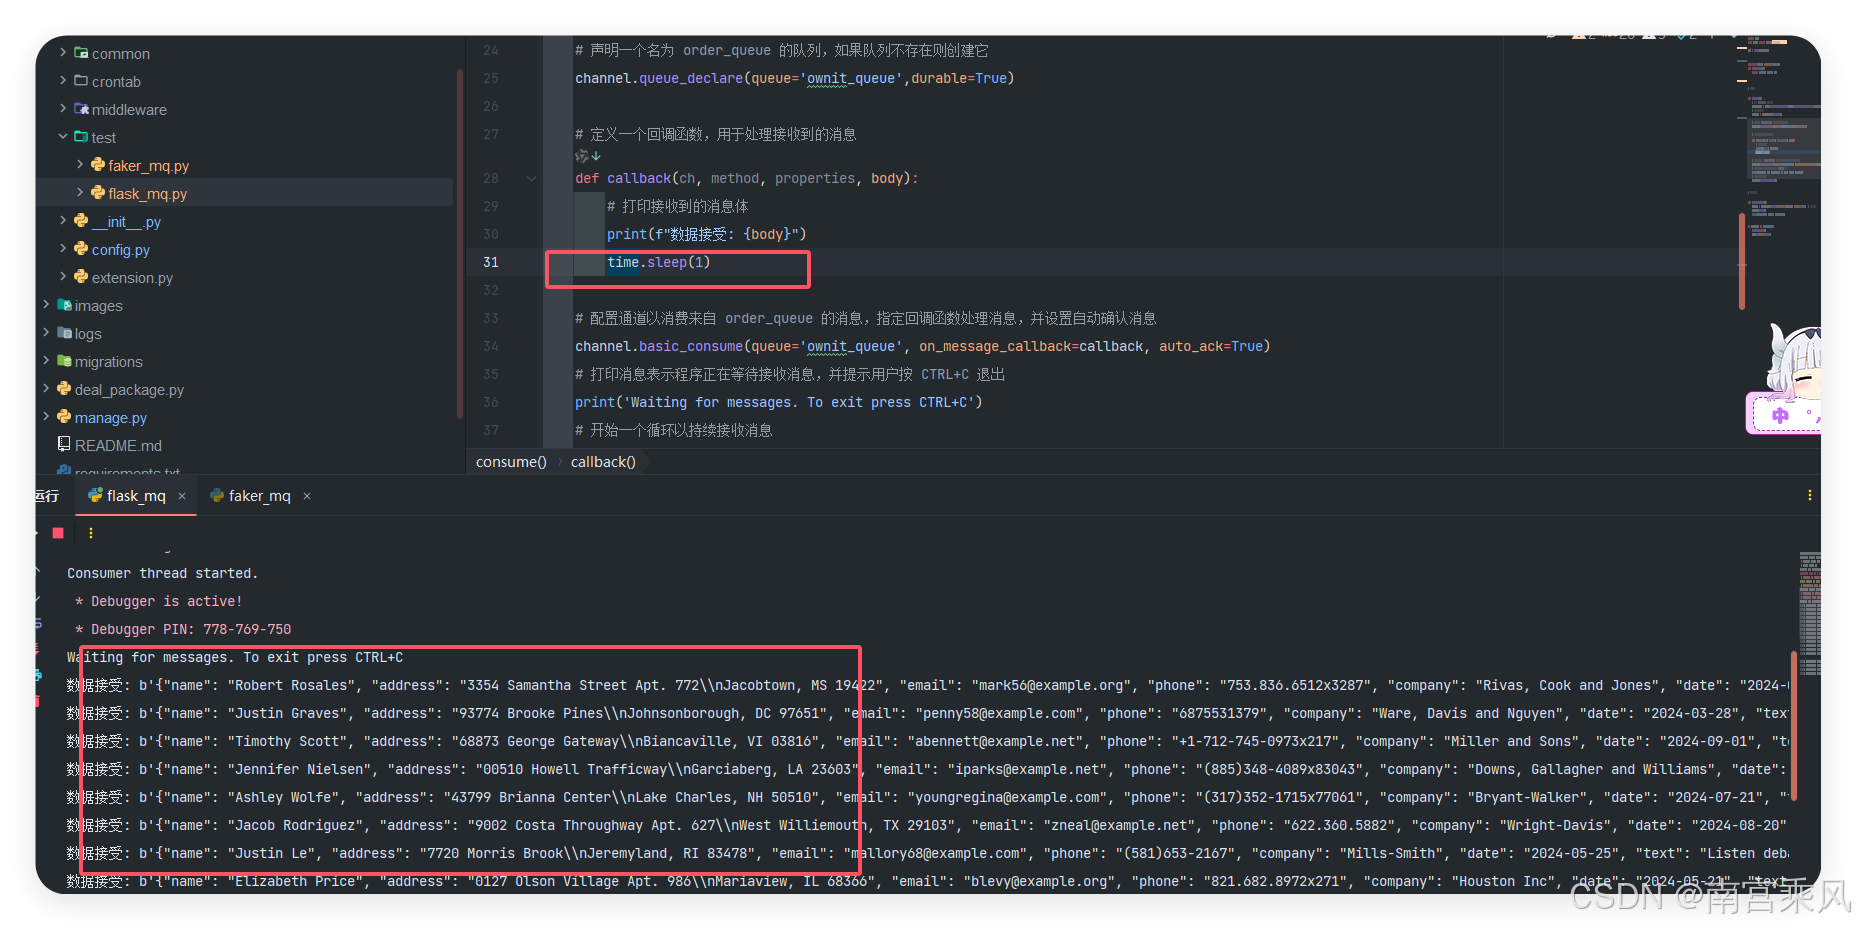
Messages that have not yet been consumed remain in RabbitMQ.
This is one of the main advantages of introducing a message broker in front of downstream processing: producers can continue publishing data even when consumers are slower, and the queue acts as a buffer between the two sides.
What this setup demonstrates
This Flask and RabbitMQ combination shows a complete asynchronous data flow in a compact form:
- RabbitMQ is installed and exposed through Docker, with the management UI available for inspection.
- Faker generates realistic test records and the producer pushes them into the queue through Pika.
- A Flask service starts a separate consumer thread so web requests and message handling can run together.
- Queue durability and message persistence are enabled, but true persistence only works when Docker storage is also persisted.
- Automatic acknowledgment simplifies consumption, while the queue itself continues storing unprocessed messages until they are handled.
For workloads that need to decouple ingestion from processing, this pattern is a practical starting point and scales much better than keeping everything inside a single request-response path.