
The Xiaomi Router BE6500 Pro is a WiFi 7 home router with a dark gray chassis, a Qualcomm quad-core A53 processor clocked at 1.5GHz, and 1GB of memory. It offers a combined dual-band rate of 6454Mbps, uses six high-gain antennas, includes four 2.5G Ethernet ports, supports Mesh networking, and can handle up to 715 connected devices. It also works as a Mi Home local smart hub, so smart devices can still be controlled locally even if the internet goes down.
This walkthrough focuses on one thing: enabling SSH access on the BE6500 Pro, then making that access stick so it remains usable after reboots and firmware updates.
What you need first
- Termius (for SSH or TELNET access)
- Xiaomi Router BE6500 Pro running firmware version
1.0.46
Before doing anything, keep in mind that unlocking a router is not risk-free. If you are not comfortable with command-line recovery or low-level device work, follow the steps exactly and do not disconnect or power-cycle the router at random, or you may brick it.
Step 1: Move to the stable firmware version
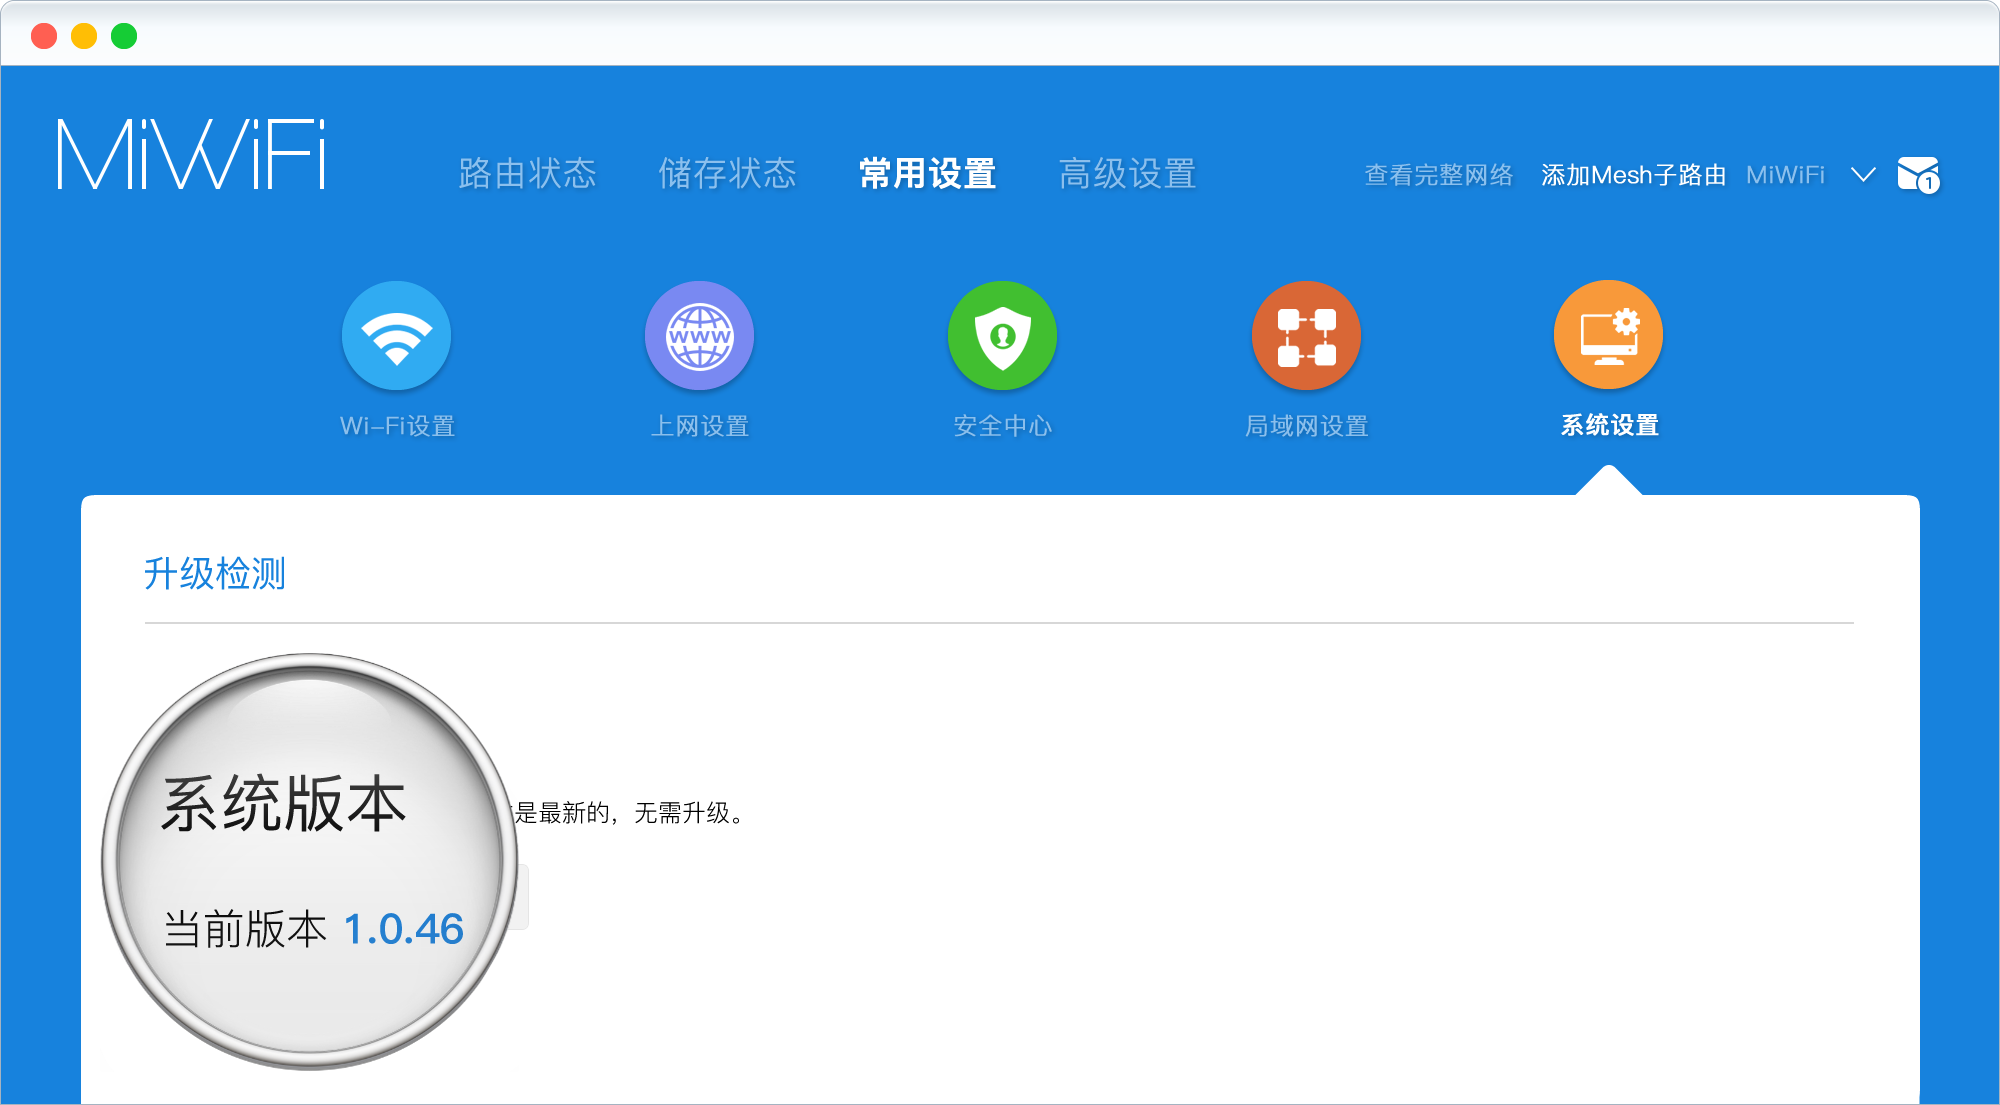
First, sign in to the router admin panel and go to Common Settings -> System Status to check the current firmware version.
- If the router is running a version lower than
1.0.46, manually upload firmware1.0.46and update it. - If the router is on a version newer than
1.0.46, the system will not let you downgrade directly. In that case, use Xiaomi’s official router repair tool to roll it back.
Step 2: Get the device STOK token
Log in to the Xiaomi router web interface with the administrator password, then copy the STOK value from the address bar. It is the highlighted section shown in the example image.
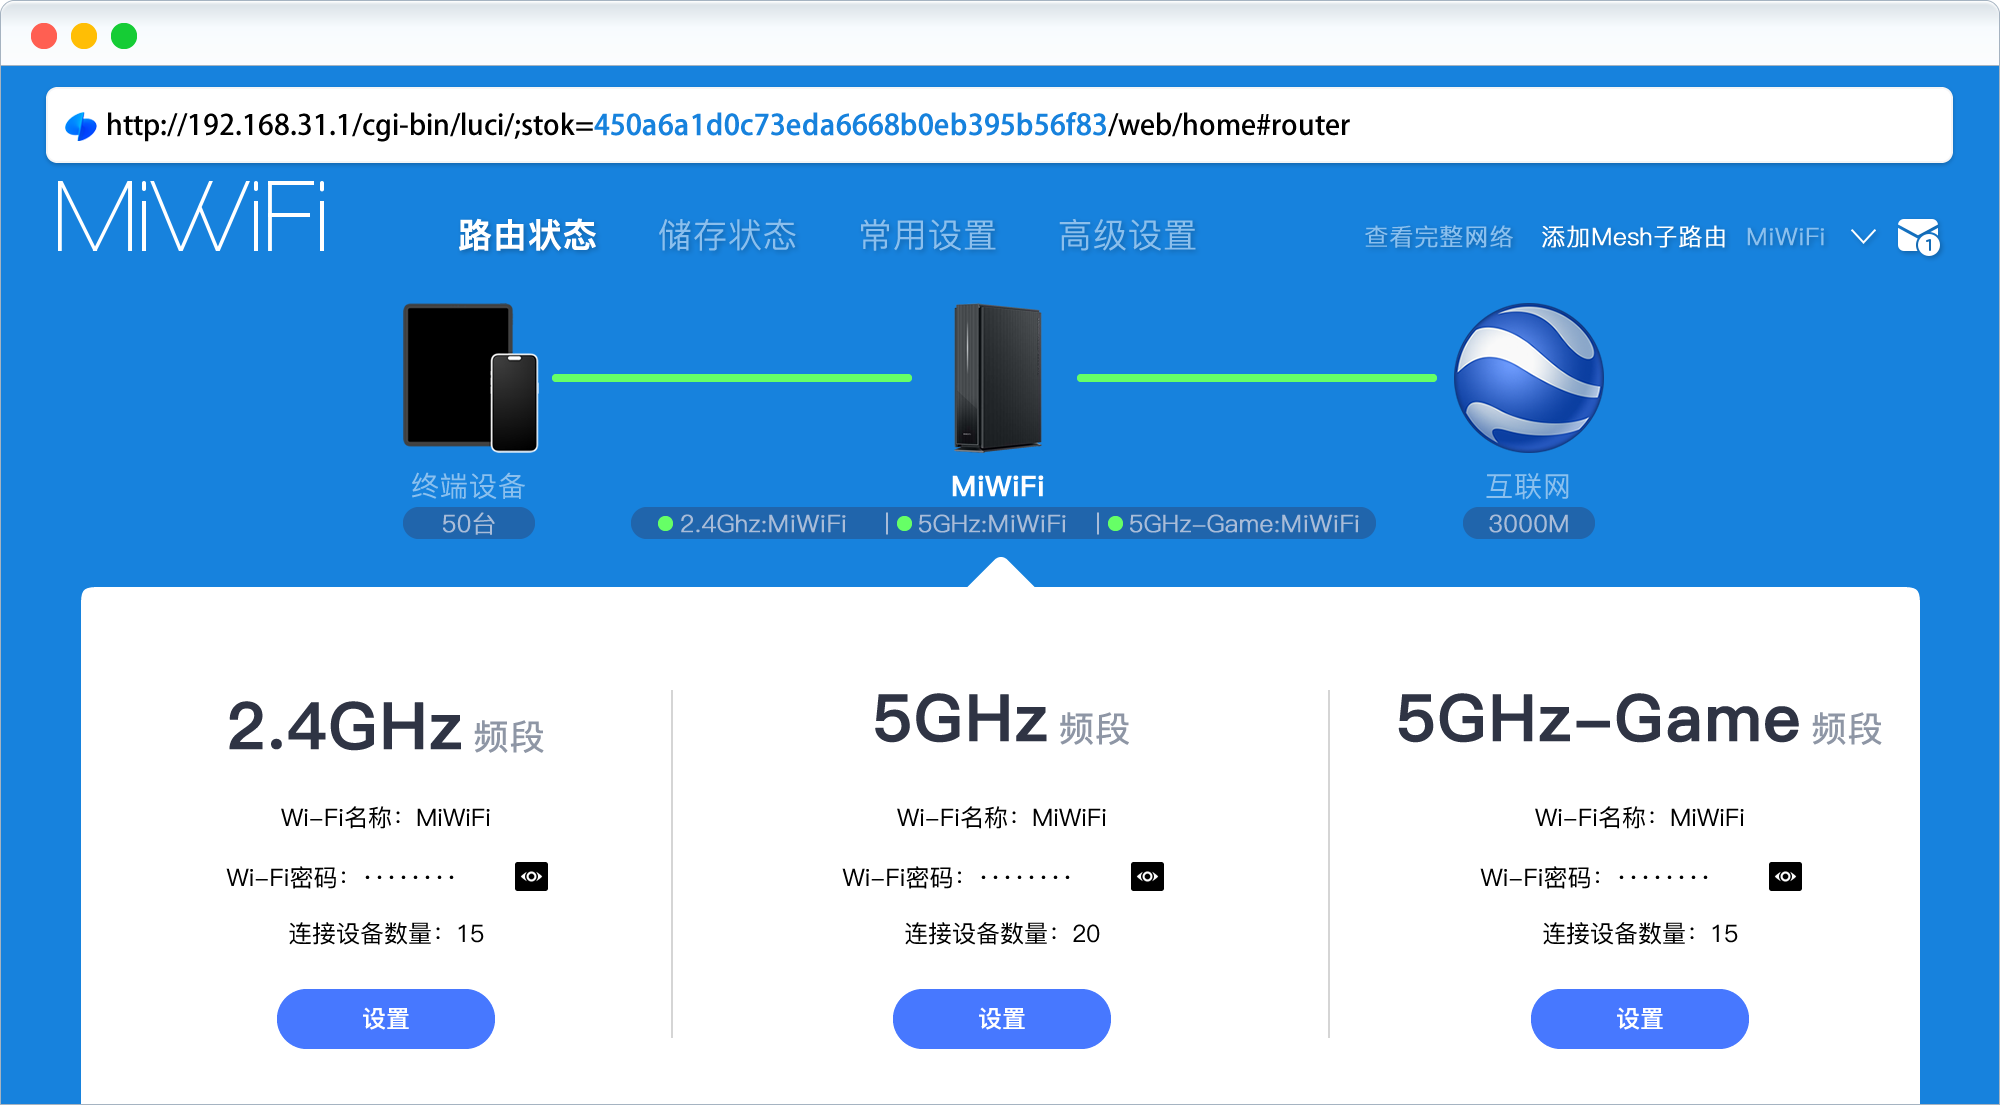
You will need that token in the next step.
Step 3: Enable the SSH port
Connect to the router, either over Wi-Fi or Ethernet.
- On Windows, use
Command Prompt. - On macOS, use
Terminal.
Replace <STOK> in the commands below with the token you copied from the router interface, then run them one by one:
curl -X POST http://192.168.31.1/cgi-bin/luci/;stok=<STOK>/api/misystem/arn_switch -d "open=1&model=1&level=%0Anvram%20set%20ssh_en%3D1%0A"
curl -X POST http://192.168.31.1/cgi-bin/luci/;stok=<STOK>/api/misystem/arn_switch -d "open=1&model=1&level=%0Anvram%20commit%0A"
curl -X POST http://192.168.31.1/cgi-bin/luci/;stok=<STOK>/api/misystem/arn_switch -d "open=1&model=1&level=%0Ased%20-i%20's%2Fchannel%3D.*%2Fchannel%3D%22debug%22%2Fg'%20%2Fetc%2Finit.d%2Fdropbear%0A"
curl -X POST http://192.168.31.1/cgi-bin/luci/;stok=<STOK>/api/misystem/arn_switch -d "open=1&model=1&level=%0A%2Fetc%2Finit.d%2Fdropbear%20start%0A"
If each command returns {"code": 0}, SSH has been enabled successfully.
You can then log in to the router over SSH:
- SSH username:
root - SSH password: calculated with the key calculator
Example:
ssh [email protected]
A successful login should drop you into the BusyBox shell on the router.
Step 4: Back up the change and harden it
At this point, SSH works, but it is not yet persistent enough. The router can restore parts of the configuration after reboot, so the next phase makes the change survive.
Soft-persist the SSH settings
After connecting to the router through SSH, run:
nvram set ssh_en=1
nvram set telnet_en=1
nvram set uart_en=1
nvram set boot_wait=on
nvram commit
sed -i 's/channel=.*/channel="debug"/g' /etc/init.d/dropbear
/etc/init.d/dropbear restart
echo -e 'admin\nadmin' | passwd root
If everything succeeds, the login will remain:
- Username:
root - Password:
admin
However, there is a catch. After a reboot, the Dropbear file is restored automatically, so SSH may stop being available again unless you add an auto-start script.
Add a startup script to reopen SSH automatically
Run the following:
mkdir /data/auto_ssh && cd /data/auto_ssh
curl -O https://cdn.jsdelivr.net/gh/lemoeo/AX6S@main/auto_ssh.sh
chmod +x auto_ssh.sh
./auto_ssh.sh install
This installs a script that reapplies the SSH-related change on startup.
Step 5: Fully persist SSH in three rounds
The full persistence process is done in three separate passes, and the router will reboot after each one. Wait for the router to come back online each time, reconnect over SSH, and continue.
First persistence pass
Run:
zz=$(dd if=/dev/zero bs=1 count=2 2>/dev/null) ; printf '\xA5\x5A%c%c' $zz $zz | mtd write - crash
reboot
The device will reboot automatically after this step.
Second persistence pass
After the router finishes rebooting, connect again over SSH and run:
nvram set ssh_en=1
nvram set telnet_en=1
nvram set uart_en=1
nvram set boot_wait=on
nvram commit
bdata set ssh_en=1
bdata set telnet_en=1
bdata set uart_en=1
bdata set boot_wait=on
bdata commit
reboot
This writes the same flags to both nvram and bdata, then reboots again.
Third persistence pass
Once the router is back up, reconnect one more time and execute:
mtd erase crash
reboot
After the device restarts, the persistence process is complete.
Step 6: Update firmware and restore SSH if needed
Once the persistence work is done, you can upgrade the router to the latest firmware.
After updating, if the SSH port is no longer reachable, use Termius to connect through TELNET instead.
- TELNET username:
root - TELNET password:
admin
If the router has been factory reset, the password will revert and must be recalculated with the key calculator.
After logging in through TELNET, run the following commands to re-enable SSH and change the root password back to admin:
sed -i '/flg_ssh=`nvram get ssh_en`/{:loop; N; /\n.*channel=`\/sbin\/uci get \/usr\/share\/xiaoqiang\/xiaoqiang_version.version.CHANNEL`\n.*return 0\n.*fi/!b loop; d}' /etc/init.d/dropbear
/etc/init.d/dropbear restart
echo -e 'admin\nadmin' | passwd root
At that point, SSH access on the Xiaomi BE6500 Pro is back in place and ready to use. With shell access available, the router becomes much more flexible for advanced modifications and add-on features.