Running Zabbix 4.2 on CentOS 7 can be done cleanly with a source build, and using the Baota panel to prepare the LNMP environment makes the web side easier to manage later. The full process includes the server, database, web frontend, a Linux agent, and a Windows agent.
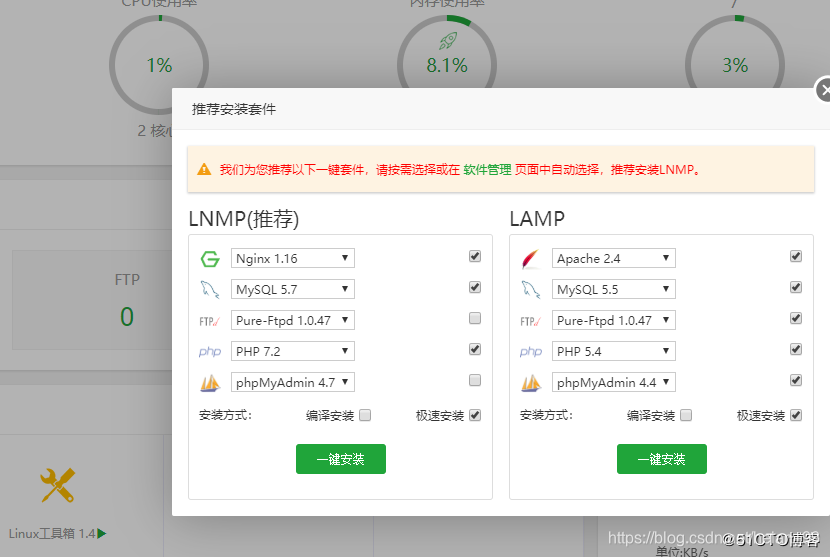
Preparing the LNMP environment with Baota
The setup is based on CentOS 7 with Baota panel used to deploy an LNMP stack:
- L: Linux
- N: Nginx
- M: MySQL
- P: PHP
Install Baota on CentOS 7 first, then prepare the environment needed for Zabbix 4.2.2/4.2.4 source installation.

 /2‘’
/2‘’
Installing dependencies and compiling Zabbix
Before compiling, install the packages required by Zabbix and its optional modules:
<table> <thead> <tr> <th>1</th>
<th>yum install -y wget telnet net-tools python-paramiko gcc gcc-c++ dejavu-sans-fonts python-setuptools python-devel sendmail mailx net-snmp net-snmp-devel net-snmp-utils freetype-devel libpng-devel perl unbound libtasn1-devel p11-kit-devel OpenIPMI unixODBC libevent-devel</th>
</tr>
</thead>
<tbody>
<tr>
<td></td>
<td></td>
</tr>
</tbody>
</table>
Create the dedicated user and group for Zabbix:
<table> <thead> <tr> <th>1 2</th>
<th>groupadd zabbix useradd -g zabbix -s /sbin/nologin zabbix</th>
</tr>
</thead>
<tbody>
<tr>
<td></td>
<td></td>
</tr>
</tbody>
</table>
Download and extract the Zabbix 4.2 source package:
<table> <thead> <tr> <th>1 2 3</th>
<th>wget https://jaist.dl.sourceforge.net/project/zabbix/ZABBIX%20Latest%20Stable/4.2.4/zabbix-4.2.4.tar.gz tar -zxvf zabbix-4.2.4.tar.gz cd zabbix-4.2.4</th>
</tr>
</thead>
<tbody>
<tr>
<td></td>
<td></td>
</tr>
</tbody>
</table>
If you want to review the available build options first, run:
<table> <thead> <tr> <th>1</th>
<th>./configure --help</th>
</tr>
</thead>
<tbody>
<tr>
<td></td>
<td></td>
</tr>
</tbody>
</table>
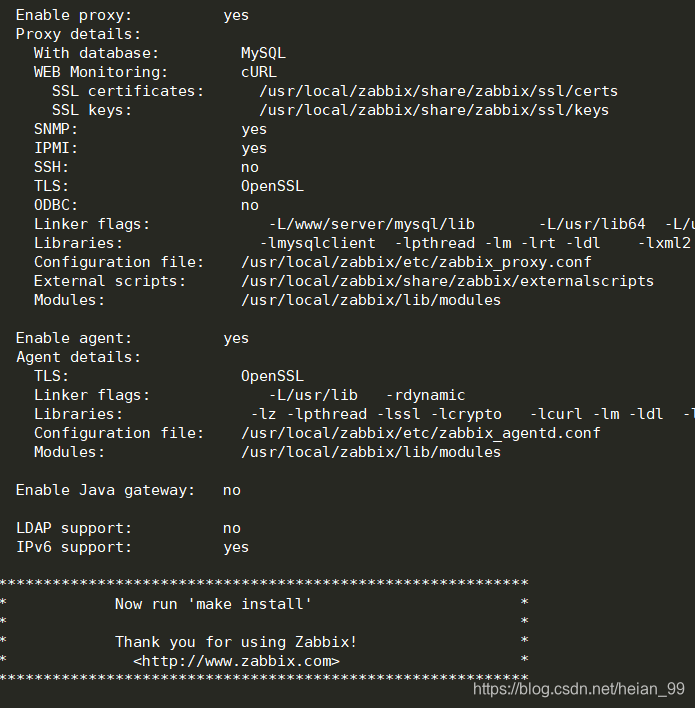
This build uses as many modules as possible:
<table> <thead> <tr> <th>1</th>
<th>./configure --prefix=/data/zabbix --enable-server --enable-proxy --enable-agent --enable-ipv6 --with-mysql --with-net-snmp --with-libcurl --with-openipmi --with-openssl --with-libcurl --with-libxml2</th>
</tr>
</thead>
<tbody>
<tr>
<td></td>
<td></td>
</tr>
</tbody>
</table>
A few notes about these options:
- For virtual machine monitoring,
--with-libcurland--with-libxml2are required. --enable-proxyand--enable-agentenable the proxy and agent components.--with-net-snmpand--with-mysqladd SNMP and MySQL support.- If
./configurereports missing features, install the corresponding dependency withyumand run it again.
Once the configuration checks pass, install it:
<table> <thead> <tr> <th>1</th>
<th>make install</th>
</tr>
</thead>
<tbody>
<tr>
<td></td>
<td></td>
</tr>
</tbody>
</table>
Creating and importing the database
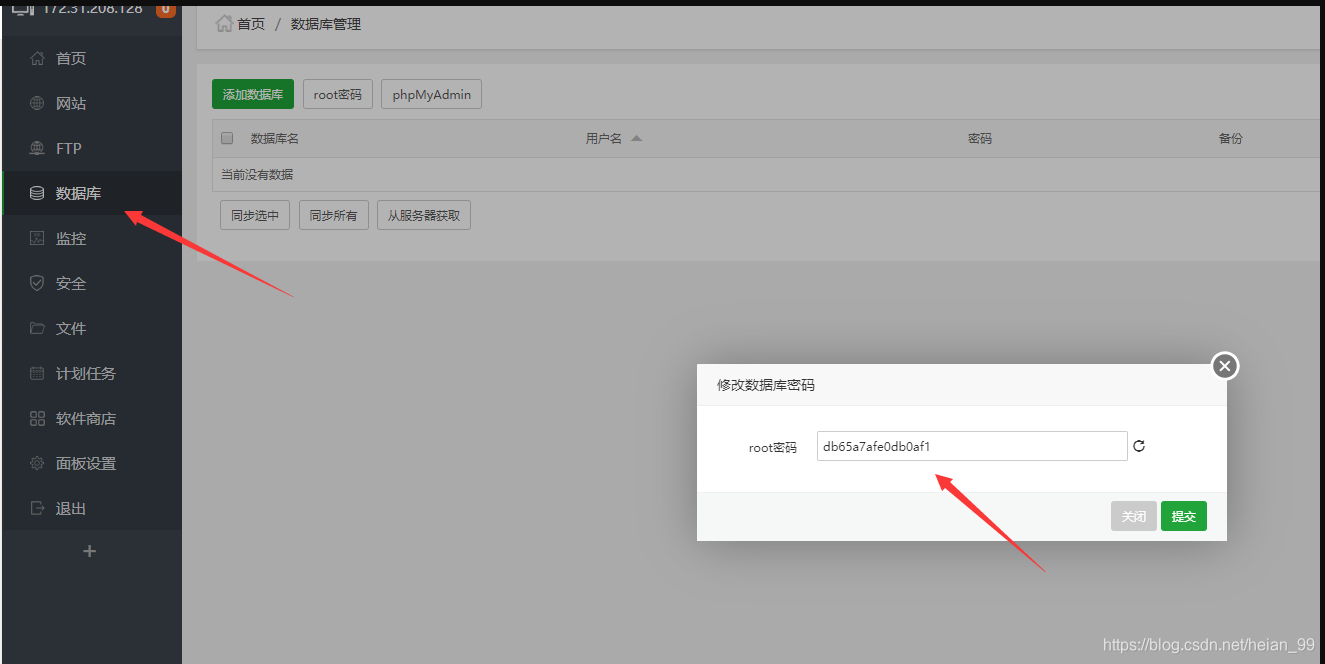
After the binaries are installed, create the database and import the initial Zabbix schema. In Baota, you can view or change the MySQL root password if needed.
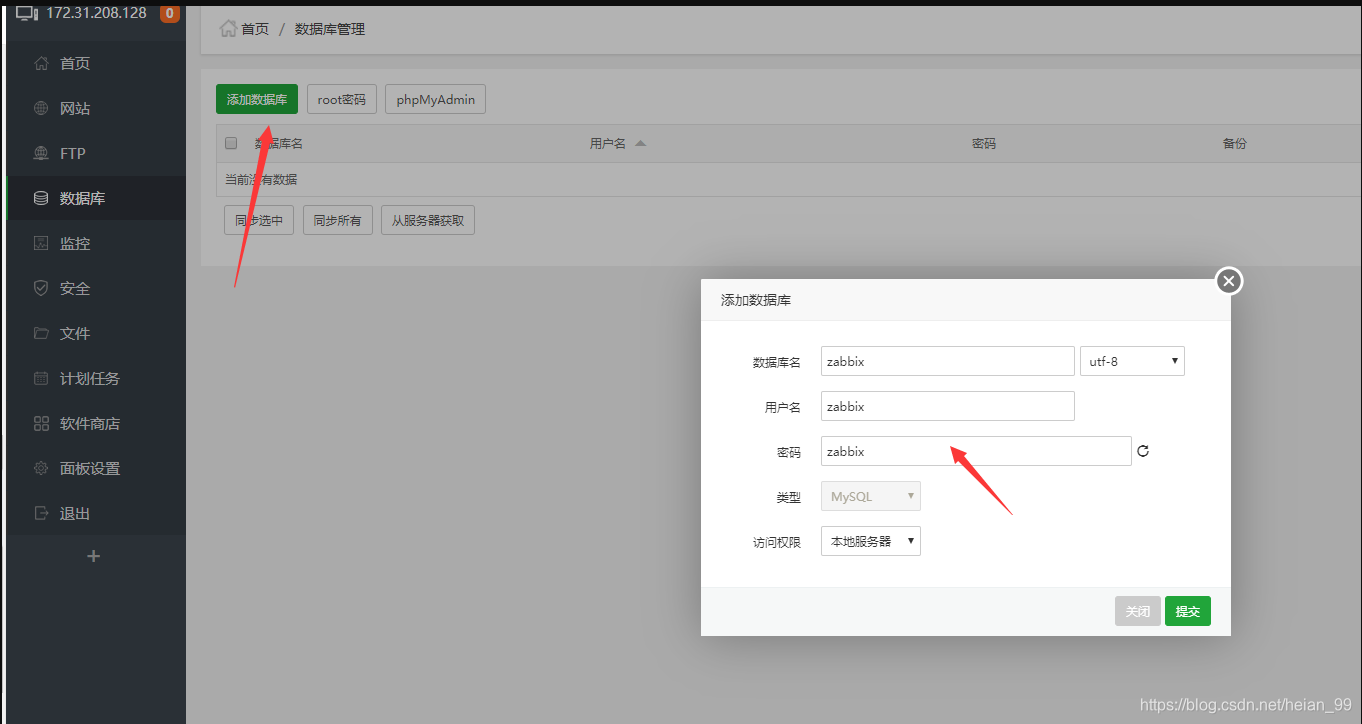
Once the database has been created, import the schema, images, and seed data:
<table> <thead> <tr> <th>1 2 3</th>
<th>mysql -uzabbix -pzabbix -hlocalhost zabbix < database/mysql/schema.sql mysql -uzabbix -pzabbix -hlocalhost zabbix < database/mysql/images.sql mysql -uzabbix -pzabbix -hlocalhost zabbix < database/mysql/data.sql</th>
</tr>
</thead>
<tbody>
<tr>
<td></td>
<td></td>
</tr>
</tbody>
</table>
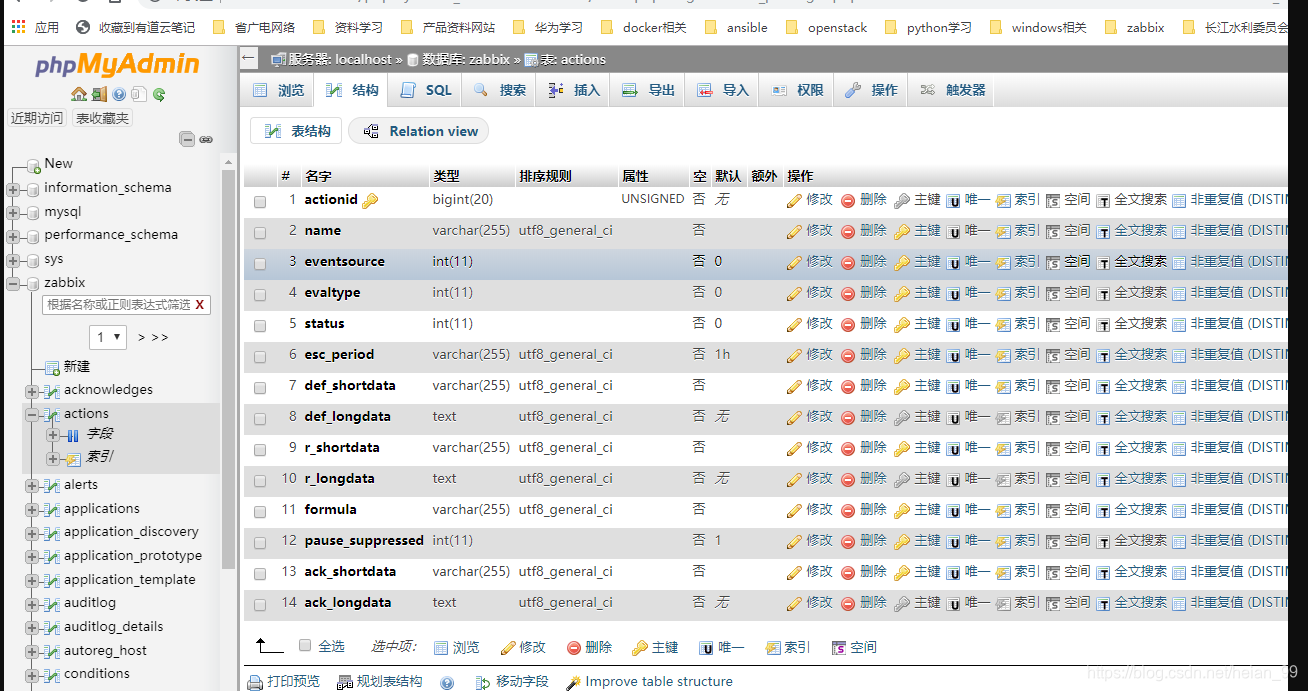
After the import finishes, the tables can be checked in phpMyAdmin from the Baota panel.
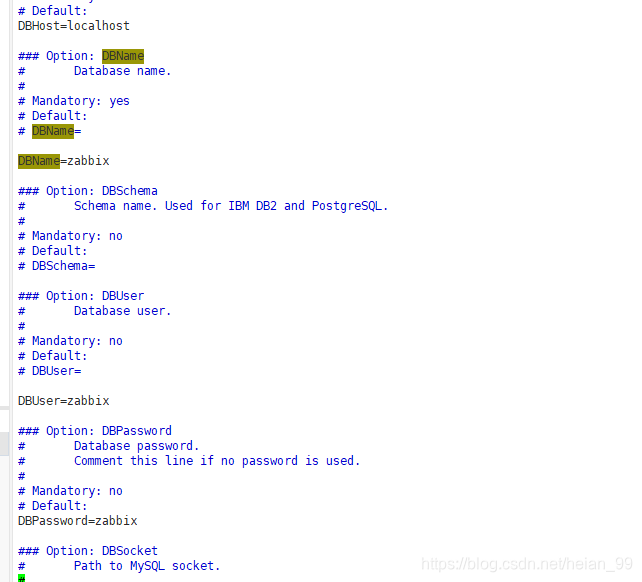
Configuring the Zabbix server
Edit the server configuration file in the Zabbix installation directory:
<table> <thead> <tr> <th>1</th>
<th>vim /data/zabbix/etc/zabbix_server.conf</th>
</tr>
</thead>
<tbody>
<tr>
<td></td>
<td></td>
</tr>
</tbody>
</table>
On this system, the CentOS firewall is also stopped and disabled:
<table> <thead> <tr> <th>1 2</th>
<th>systemctl stop firewalld systemctl disable firewalld</th>
</tr>
</thead>
<tbody>
<tr>
<td></td>
<td></td>
</tr>
</tbody>
</table>
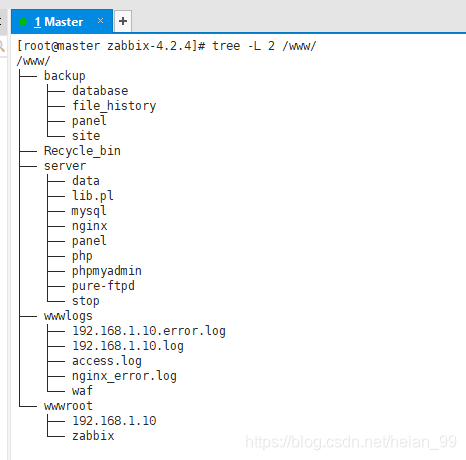
Zabbix frontend is written in PHP, so it needs a PHP-capable web server. With Baota already providing the LNMP stack, Nginx is configured automatically and a WWW directory is created under the filesystem root for website data.
Deploying the Zabbix web frontend
Add a new site in Baota before copying the frontend files.
A few practical points:
- A public domain is the normal choice.
- If there is no public domain, an internal name such as
.localor any non-conflicting domain format can be used on a private network. - Access by IP address also works.

After the site is created, copy the PHP frontend files from the extracted source tree into the site directory:
<table> <thead> <tr> <th>1 2</th>
<th>cd zabbix-4.2.4 cp -r frontends/php/* /www/wwwroot/zabbix/ #此文件就是之前创建的站点</th>
</tr>
</thead>
<tbody>
<tr>
<td></td>
<td></td>
</tr>
</tbody>
</table>
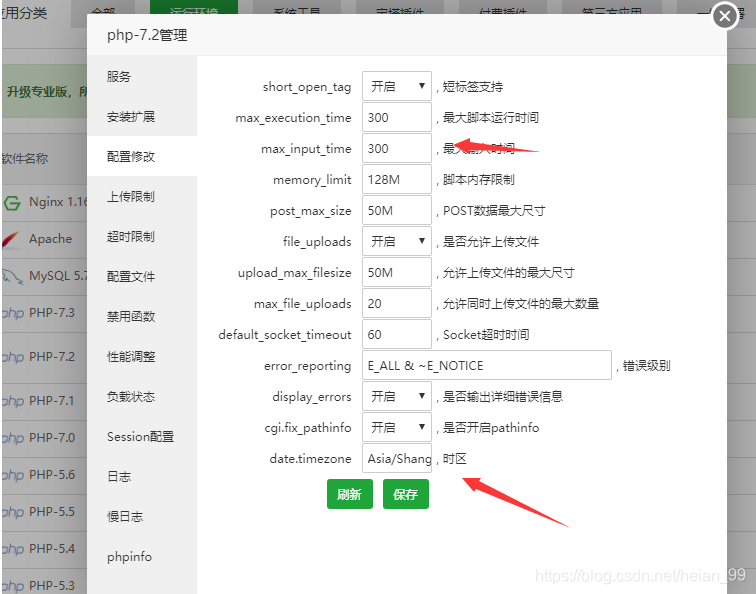
Then adjust the relevant PHP settings from the software section in Baota.

According to Zabbix requirements, change max_input_time from 60 to 300, and set date.timezone to .Asia/Shanghai, then save the configuration.
Start the server and agent processes:
<table> <thead> <tr> <th>1 2</th>
<th>/data/zabbix/sbin/zabbix_server /data/zabbix/sbin/zabbix_agentd</th>
</tr>
</thead>
<tbody>
<tr>
<td></td>
<td></td>
</tr>
</tbody>
</table>
Next, open ip/setup.php in a browser using the server IP and proceed with the web installer.
A warning may appear about missing PHP LDAP support:
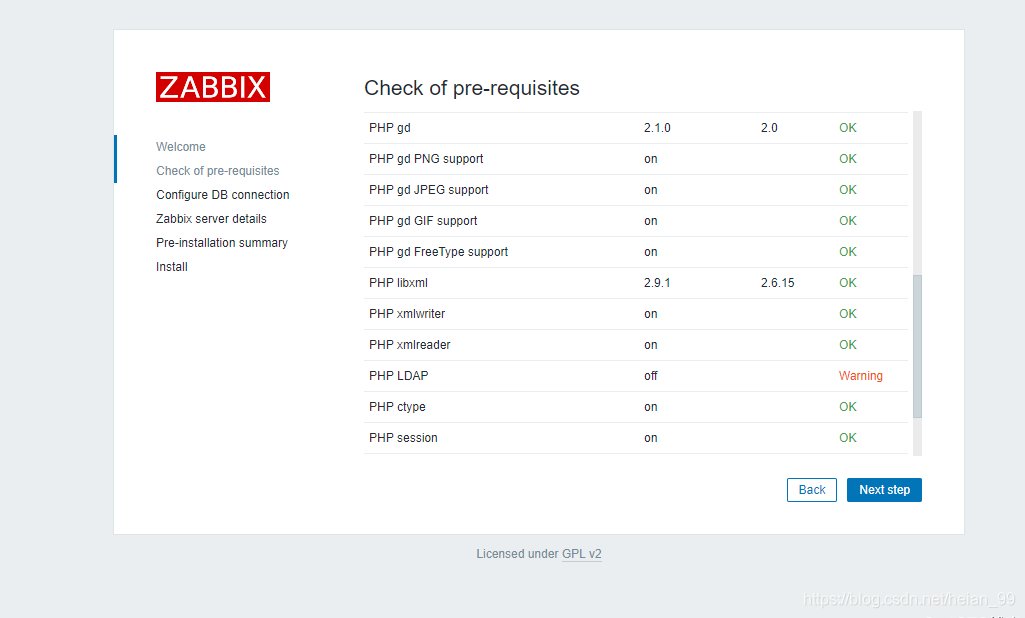
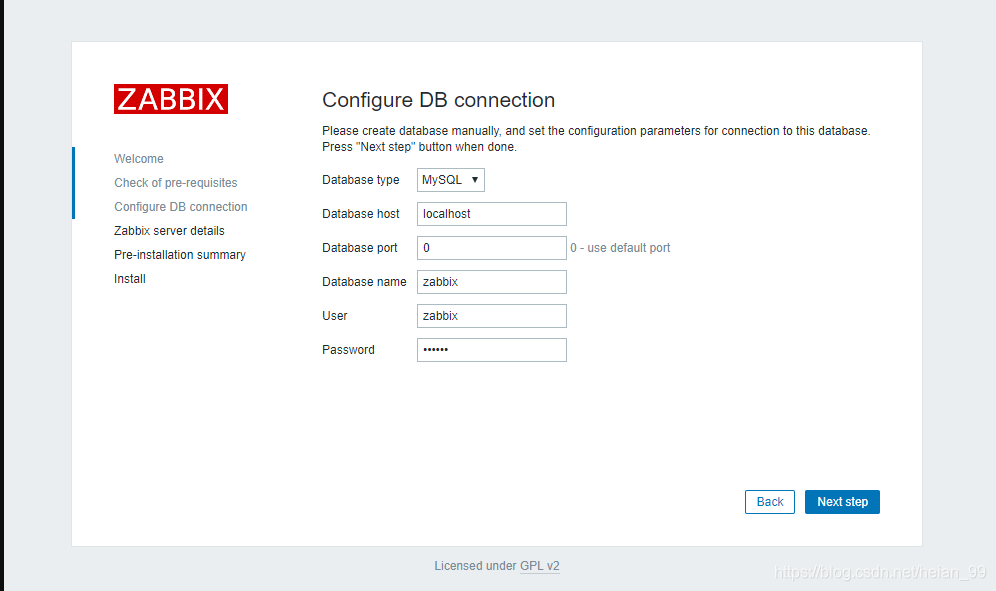
That warning can be ignored here, and setup can continue. Then fill in the MySQL connection details.
At one step, an error may ask you to download a generated file and place it manually at:
/www/wwwroot/zabbix/conf/zabbix.conf.php
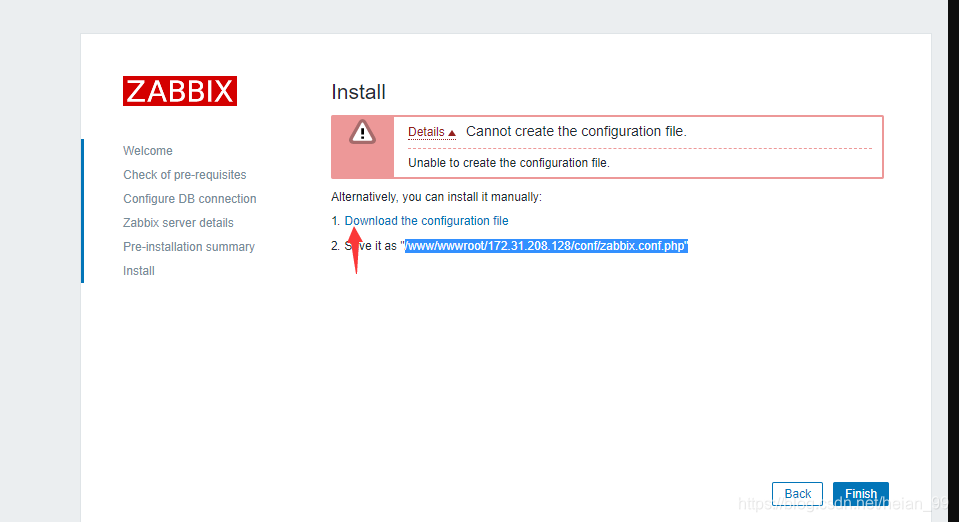
After saving that file into place, the web configuration is complete.
From that point on, routine work such as security hardening, backups, and performance tuning can also be handled through Baota.
Setting up a Linux Zabbix agent
1. Create the Zabbix user and group
<table> <thead> <tr> <th>1 2</th>
<th>groupadd zabbix useradd zabbix -g zabbix -s /sbin/nologin</th>
</tr>
</thead>
<tbody>
<tr>
<td></td>
<td></td>
</tr>
</tbody>
</table>
2. Build and install the agent
<table> <thead> <tr> <th>1 2 3</th>
<th>tar xvf zabbix-4.2.4.tar.gz cd zabbix-4.2.4 ./configure --prefix=/data/zabbix_agent --enable-agent</th>
</tr>
</thead>
<tbody>
<tr>
<td></td>
<td></td>
</tr>
</tbody>
</table>
<table>
<thead>
<tr>
<th>1</th>
<th>make && make install</th>
</tr>
</thead>
<tbody>
<tr>
<td></td>
<td></td>
</tr>
</tbody>
</table>
3. Add the service port and adjust the startup script
<table> <thead> <tr> <th>1 2 3 4</th>
<th>echo 'zabbix-agent 10050/tcp #Zabbix Agent' >> /etc/services echo 'zabbix-agent 10050/udp #Zabbix Agent' >> /etc/services cp zabbix-4.2.2/misc/init.d/Fedora/core/zabbix_agentd /etc/init.d/ sed -i 's/BASEDIR=\/usr\/local/BASEDIR=\/data\/zabbix/g' /etc/init.d/zabbix_agentd</th>
</tr>
</thead>
<tbody>
<tr>
<td></td>
<td></td>
</tr>
</tbody>
</table>
Add zabbix_agentd to init startup with chkconfig:
1 2</th>
<th>chkconfig --add zabbix_agentd chkconfig --level 345 zabbix_agentd on</th>
</tr>
</thead>
<tbody>
<tr>
<td></td>
<td></td>
</tr>
</tbody>
</table>
Check whether it was added successfully:
<table> <thead> <tr> <th>1</th>
<th>chkconfig --list | grep zabbix</th>
</tr>
</thead>
<tbody>
<tr>
<td></td>
<td></td>
</tr>
</tbody>
</table>
4. Edit the agent configuration
<table> <thead> <tr> <th>1</th>
<th>vim /data/zabbix/etc/zabbix_agentd.conf</th>
</tr>
</thead>
<tbody>
<tr>
<td></td>
<td></td>
</tr>
</tbody>
</table>
Set at least the server address, active server, hostname, PID file, and log file:
<table> <thead> <tr> <th>1 2 3 4 5</th>
<th>Server=192.168.1.83 //配置zabbix_server服务端服务器的IP地址 ServerActive=192.168.1.83 Hostname=linux_server1 //配置主机名 PidFile=/var/tmp/zabbix_agentd.pid //指定pid路径 LogFile=/var/log/zabbix/zabbix_agentd.log //指定日志文件</th>
</tr>
</thead>
<tbody>
<tr>
<td></td>
<td></td>
</tr>
</tbody>
</table>
Create the log directory and file, then assign ownership:
<table> <thead> <tr> <th>1 2 3</th>
<th>mkdir /var/log/zabbix touch /var/log/zabbix/zabbix_agentd.log chown -R zabbix.zabbix /var/log/zabbix</th>
</tr>
</thead>
<tbody>
<tr>
<td></td>
<td></td>
</tr>
</tbody>
</table>
5. Start the agent and test it
<table> <thead> <tr> <th>1</th>
<th>/etc/init.d/zabbix_agentd start</th>
</tr>
</thead>
<tbody>
<tr>
<td></td>
<td></td>
</tr>
</tbody>
</table>
Check the process list:
<table> <thead> <tr> <th>1</th>
<th>ps aux| grep zabbix</th>
</tr>
</thead>
<tbody>
<tr>
<td></td>
<td></td>
</tr>
</tbody>
</table>

From the Zabbix server side, test whether the agent is reachable:
<table> <thead> <tr> <th>1</th>
<th>/data/zabbix/bin/zabbix_get -s 192.168.1.160 -p10050 -k”net.if.in[eth0,bytes]”</th>
</tr>
</thead>
<tbody>
<tr>
<td></td>
<td></td>
</tr>
</tbody>
</table>
If the network interface data is returned, communication between server and client is working normally.
Setting up a Windows Zabbix agent
1. Prepare the official agent package
After downloading the official Zabbix Agent package, there are two directories inside the archive:

Create a zabbix directory on drive C:. Inside the bin directory of the package, there are win32 and win64 folders. Each should contain three executables:
zabbix_agentd.exezabbix_get.exezabbix_sender.exe
2. Copy the correct binaries
Copy the files from either win32 or win64, depending on the Windows version, into the newly created c:\zabbix directory.

3. Copy and edit the configuration file
From the extracted zabbix_agents_2.4.4.win folder, take the config file under conf, edit it, rename it to zabbix_agentd.conf, and place it in c:\zabbix.
Use settings like these:
LogFile\=c:\zabbix\zabbix_agentd.log
Server\=\<服务端IP地址>
Hostname\=win_server1
4. Install the Windows agent
Open the command prompt from Start -> Run -> cmd (or press Win + R), then run:
cd c:\zabbix
zabbix_agentd.exe –c c:\zabbix\zabbix_agentd.conf -i
If the expected message appears, the agent has been installed successfully.
5. Start the agent
zabbix_agentd.exe –s
If startup fails with the following message:
cannot open config file[C:\zabbix_agentd.conf]: [2] No such file or directory
copy the configuration file to c:\ as well.
Useful parameters for zabbix_agentd.exe:
-cspecify the location of the configuration file-iinstall the agent-sstart the agent-xstop the agent-duninstall/remove the agent
Once started, the client should be listening on port 10050. You can also verify its status from Administrative Tools -> Services in Windows.
Adding the host on the Zabbix server
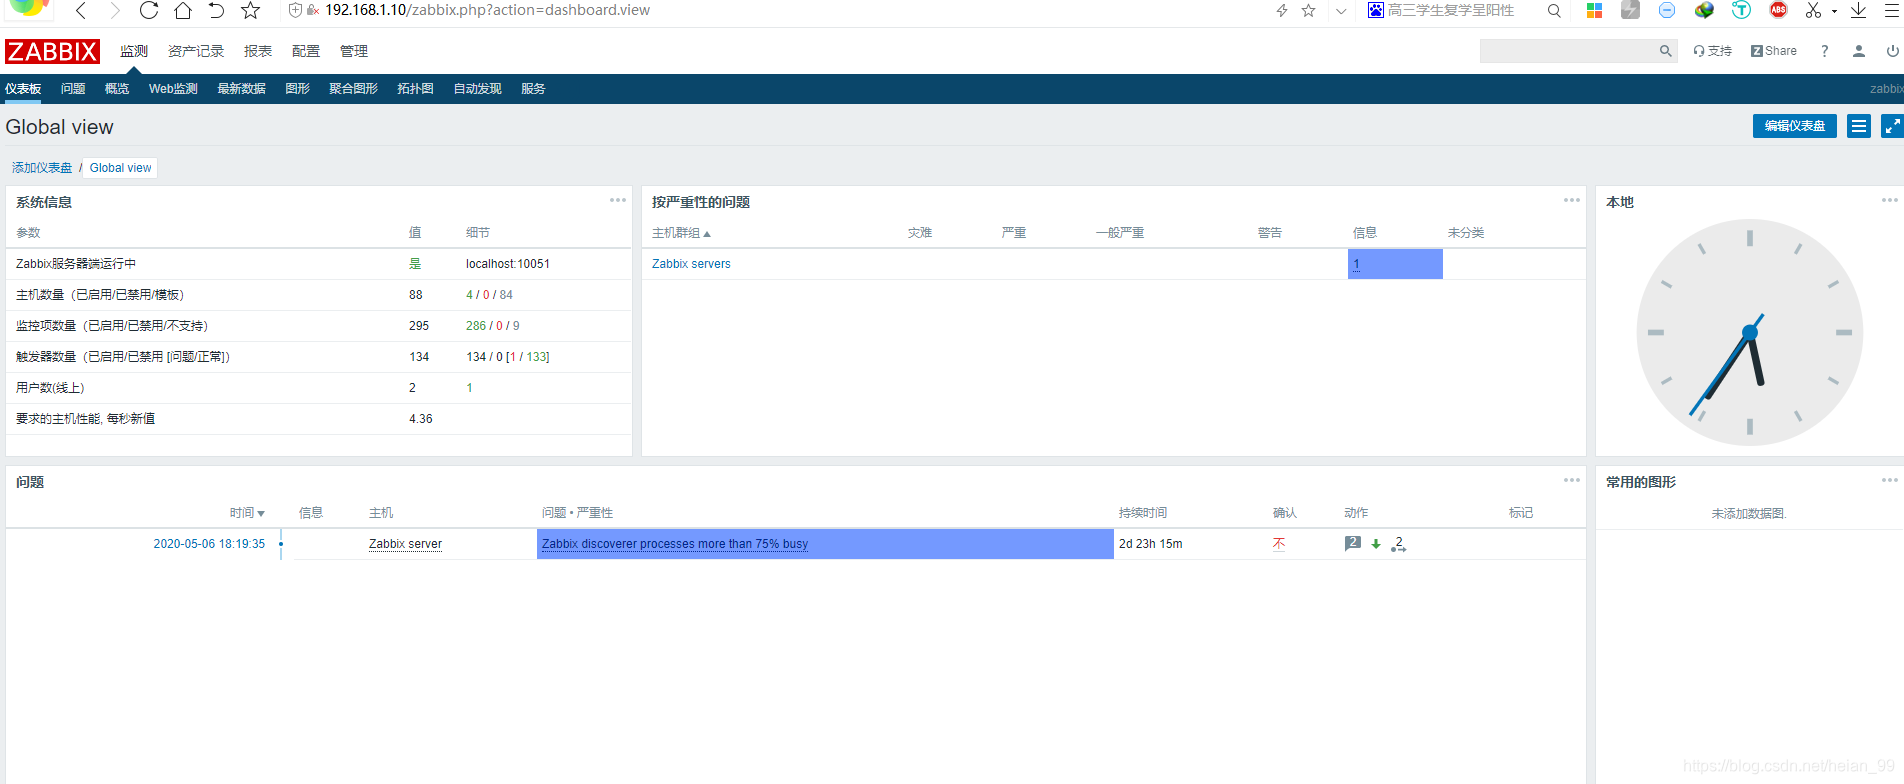
After the server and agents are running, the remaining step is to add the monitored hosts from the Zabbix server side so they can begin reporting data.